Viewing Debug Data
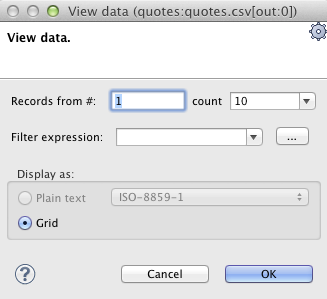
In order to view the records that have gone through the edge and met the filter expression and have been saved, you must open the context menu by right-clicking. Then you must click the item. After that, a View data dialog opens. Note, that you can create a filter expression here in the same way as described above.
You must select the number of records that should be displayed and confirm it by clicking .
CloudConnect Designer remembers the selected count and after the View data dialog is opened again, the same count is offered.
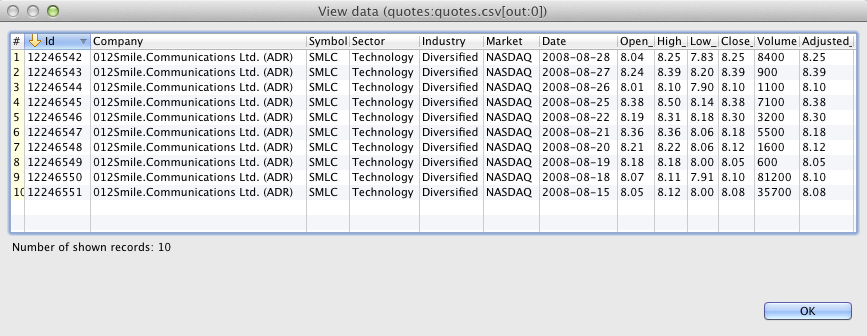
The records are shown in another View data dialog. This dialog has grid mode. You can sort the records in any of its columns in ascending or descending order by simply clicking its header. Dialog acts is modal window, so that user can view data on more edges at the same time. To differ between dialogs window title provides info about viewing edge in format GRAPH.name:COMPONENT.name[out: PORT.id].
![[Note]](figures/note.png) | Note |
|---|---|
If records are too big, you will see the [...] mark indicating some data could not be displayed. |
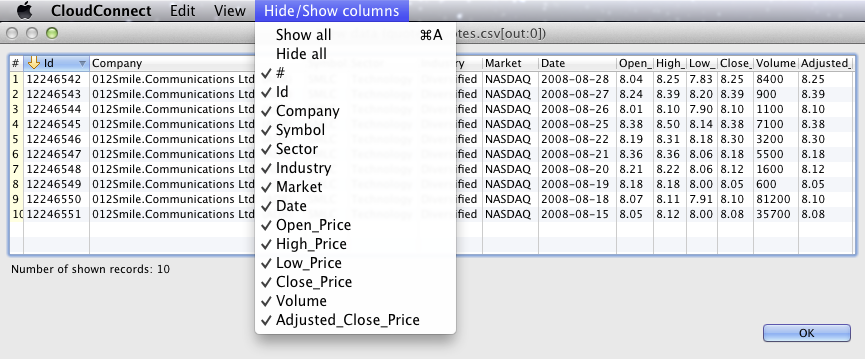
Above the grid, there are three labels: Edit, View, Hide/Show columns.
By clicking the Hide/Show columns label, you can select which columns should be displayed: all, none, only selected. You can select any option by clicking.
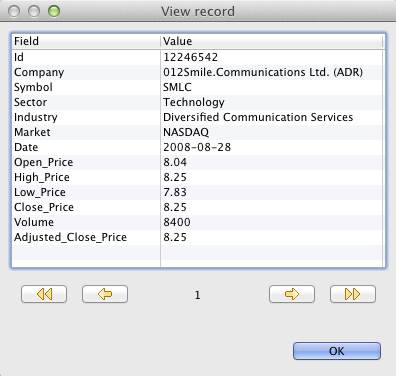
By clicking the View label, you are presented with two options: You can decide whether you want to view the unprintable characters, or not. You can also decide whether you want to view only one record separately. Such a record appears in the View record dialog. At the bottom of this dialog, you can see some arrow buttons. They allow user to browse the records and view them in sequence. Note that by clicking the button most on the right, you can see the last record of the displayed records, but it does not necessarily display the record that is the last processed.
By clicking the Edit label, you are presented with four options.
You can select the number of record or line you want to see. Such a record will be highlighted after typing its number and clicking .
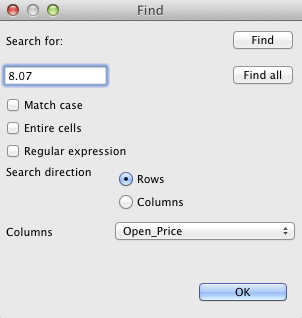
Another option opens the Find dialog. First of all, this wizard contains a text area you can type an expression into. Then, if you check the Match case checkbox, the search will be case sensitive. If you check the Entire cells checkbox, only the cells that meet the expression completely will be highlighted. If you check the Regular expression checkbox, the expression you have typed into the text area will be used as a regular expression. You can also decide whether you want to search some expression in the direction of rows or columns. You can also select what column it will be searched in: all, only visible, one column from the list. And, as the last option, you can select whether you want to find all cells that meet some criterion or only one of the cells.
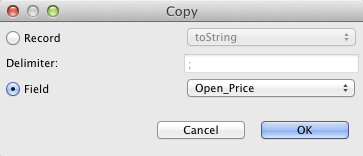
As the last option, you can copy some of your records or a part of a record. You need to select whether you want to copy either the entire record (either to string, or as a record - in this last case you can select the delimiter as well) or only some of the record fields. The selected option is enabled, the other one is disabled. After clicking the button, you only need to choose the location where it shall be copied into and past it there.
