Transform Editor
Some of the components provide the Transform editor in which you can define the transformation.
When you open the Transform editor, you can see the following tabs: Transformations, Source and Regex tester.
Transformations
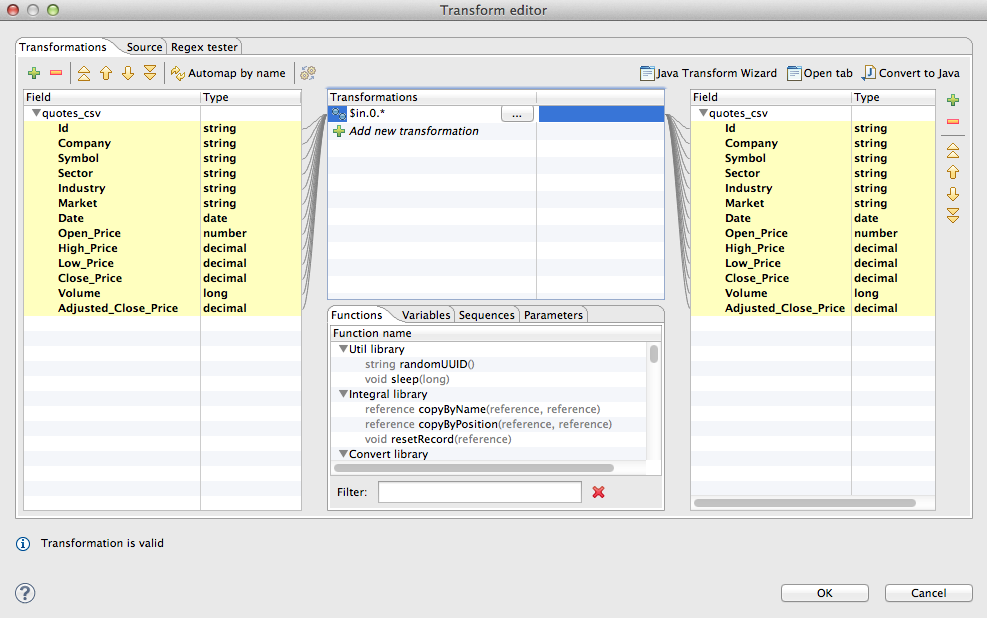
The Transformations tab can look like this:
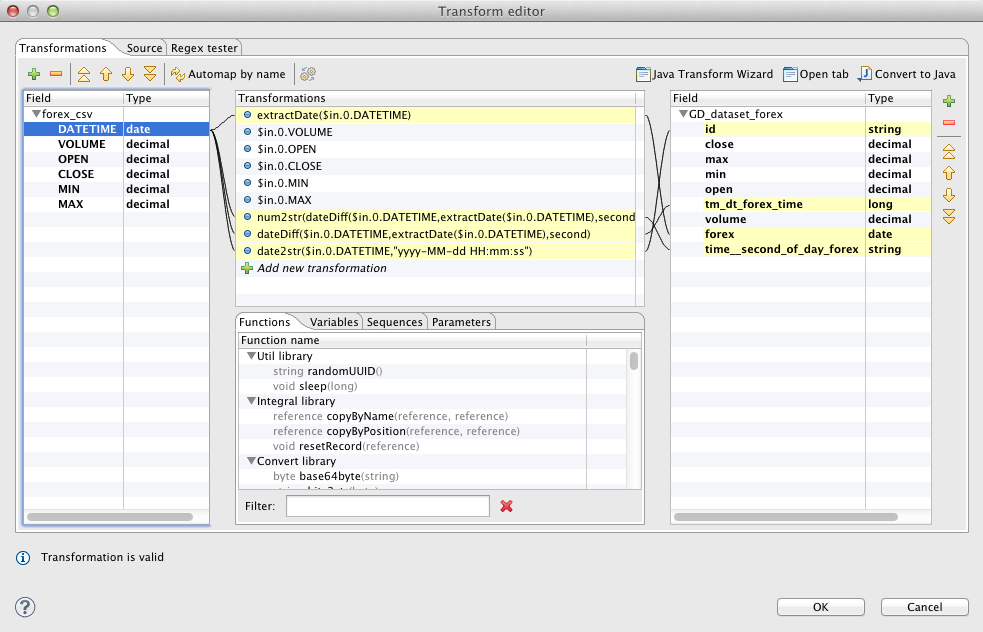
In the Transformations tab, you can define the transformation using a simple mapping of inputs to outputs. First, you must have both input and output metadata defined and assigned. Only after that can you define the desired mapping.
After opening the Transform editor, you can see some panes and tabs in it. You can see input fields of all input ports and their data types in the left pane. Output fields of all output ports and their data types display in the right pane. You can see the following tabs in the middle bottom area: Functions,Variables, Sequences, Parameters.
If you want to define the mapping, you must select some of the input fields, push down the left mouse button on it, hold the button, drag to the Transformations pane in the middle and release the button. After that, the selected field name appears in the Transformations pane. Transformations defined here can be adjusted by a left mouse click drag and drop or via toolbar buttons in the upper left hand corner.
The following will be the resulting form of the expression: $portnumber.fieldname.
After that, you can do the same with some of the other input fields. If you want to concatenate the values of various fields (even from different input ports, in case of Joiners and the DataIntersection component), you can transfer all of the selected fields to the same row in the Transformations pane after which there will appear the expression that can look like this: $portnumber1.fieldnameA+$portnumber2.fieldnameB.
The port numbers can be the same or different. The portnumber1 and portnumber2 can be 0 or 1 or any other integer number. (In all components both input and output ports are numbered starting from 0.) This way you have defined some part of the transformation. You only need to assign these expressions to the output fields.
In order to assign these expressions to the output, you must select any item in the Transformations pane in the middle, push the left mouse button on it, hold the button, drag to the desired field in right pane and release the button. The output field in the right pane becomes bold.
![[Tip]](figures/tip.png) | Tip |
|---|---|
To design the transformation in a much easier way, you can simply drag fields from the left hand pane to the right hand pane. The transformation stub in the central pane will be prepared for you automatically. Be careful when dropping the field, though. If you drop it onto an output field, you will create a mapping. If you drop it into a blank space of the right hand pane (between two fields), you will just copy input metadata to the output. Metadata copying is a feature which works only within a single port. |
Another point, you can see empty little circles on the left from each of these expressions (still in the Transformations pane). Whenever some mapping is made, the corresponding circle is filled in with blue. This way you must map all of the expressions in the Transformations pane to the output fields until all of the expressions in the Transformations pane becomes blue. At that moment, the transformation has been defined.
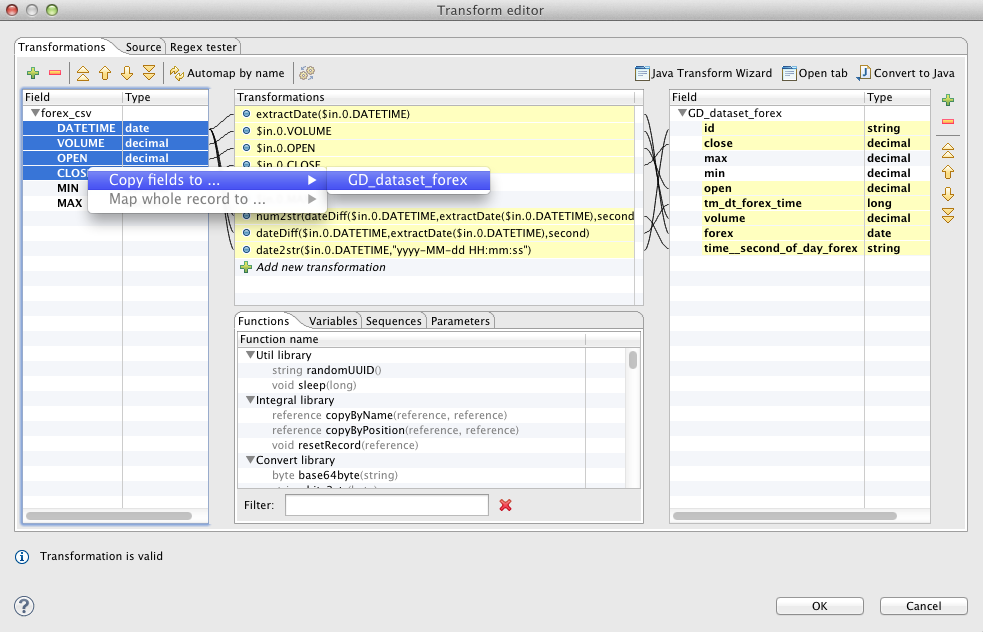
You can also copy any input field to the output by right-clicking the input item in the left pane and selecting Copy fields to... and the name of the output metadata:
Remember that if you have not defined the output metadata before defining the transformation, you can define them even here by copying and renaming the output fields using right-click. However, it is much more simple to define new metadata prior to defining the transformation. If you defined the output metadata using this Transform editor, you would be informed that output records are not known and you would have to confirm the transformation with this error and (after that) specify the delimiters in metadata editor.
![[Note]](figures/note.png) | Note |
|---|---|
Fields of output metadata can be rearranged by a simple drag and drop with the left mouse button. |
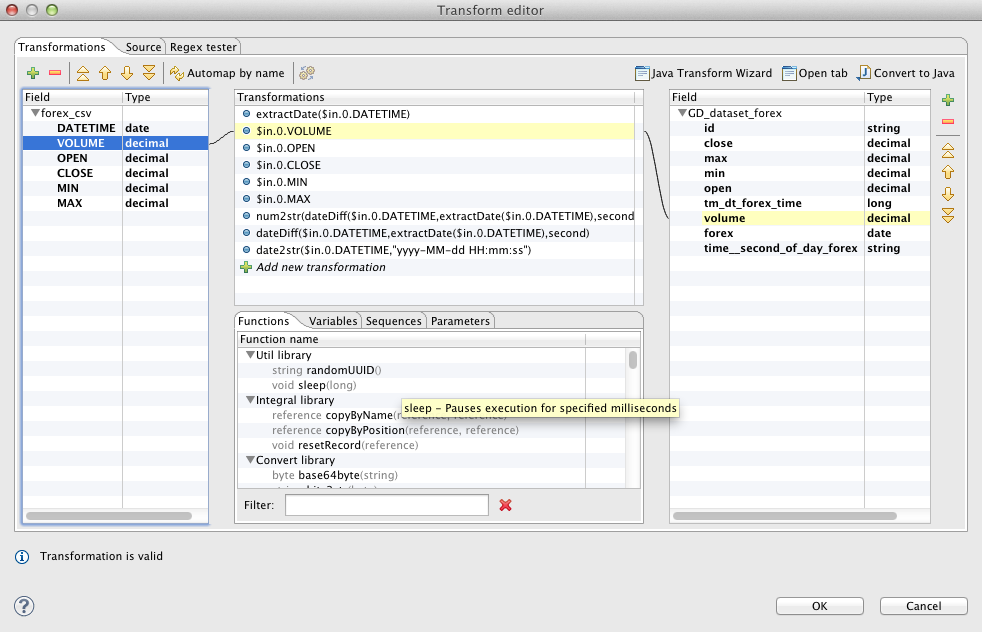
The resulting simple mapping can look like this:

If you select any item in the left, middle or right pane, corresponding items will be connected by lines. See example below:
You can write the desired transformation:
Into individual rows of the Transformations pane - optionally, drag any function you need from the bottom Functions tab (the same counts for Variables, Sequences or Parameters) and drop them into the pane. Use Filter to quickly jump to the function you are looking for.
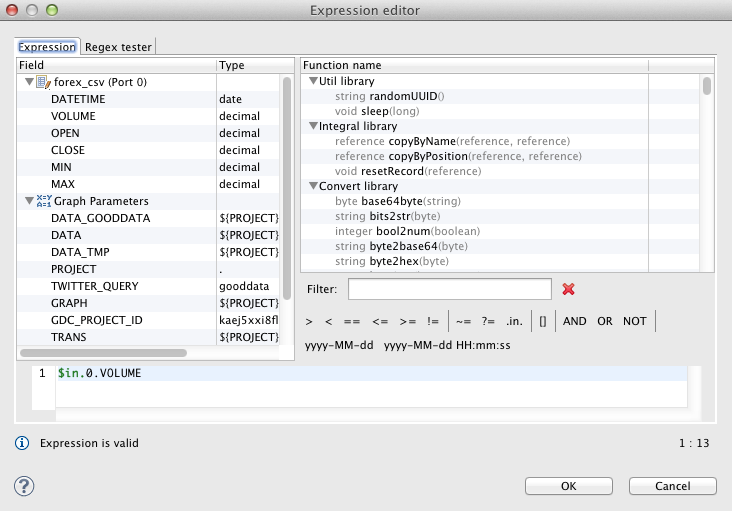
By clicking the '...' button which appears after selecting a row inside the Transformations pane. This opens an editor for defining the transformation. It contains a list of fields, functions and operators and also provides hints. See below:
Transform editor supports wildcards in mapping. If you right click a record or one of its fields, click Map record to and select a record, you will produce a transformation like this (as observed in the Source tab): $out.0.* = $in.1.*;, meaning "all output fields of record no 0 are mapped to all input fields of record no 1". In Transformations, wildcard mapping looks like this:
Source
Some of your transformations may be too complicated to define in the Transformations tab. You can use the Source tab instead.
(Source tabs of individual components are shown in corresponding sections describing these components.)
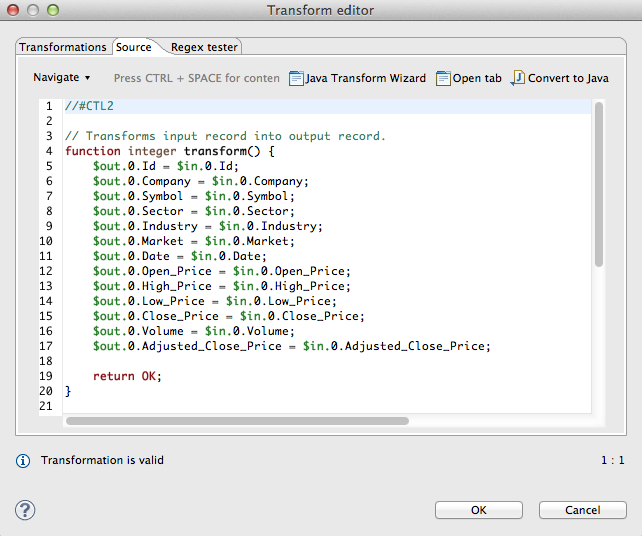
Below you can see the Source tab with the transformation defined above. It is written in CloudConnect transformation language (Chapter 62, CTL2).
In the upper right corner of either tab, there are three buttons: for launching a wizard to create a new Java transform class (Java Transform Wizard button), for creating a new tab in Graph Editor (Open tab button), and for converting the defined transformation to Java (Convert to Java button).
If you want to create a new Java transform class, press the Java Transform Wizard button. The following dialog will open:
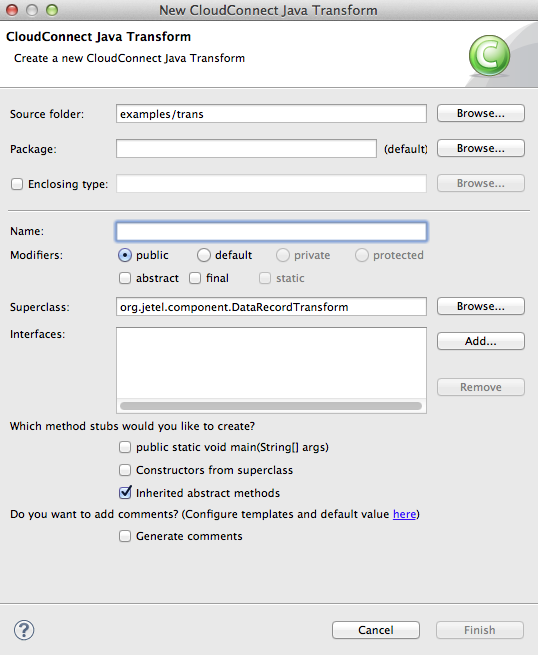
The Source folder field will be mapped to the project ${TRANS_DIR}, for example SimpleExamples/trans. The value of the Superclass field depends on the target component. It will be set to a suitable abstract class implementing the required interface. For additional information, see Transformations Overview. A new transform class can be created by entering the Name of the class and, optionally, the containing Package and pressing theFinish button. The newly created class will be located in the Source folder.
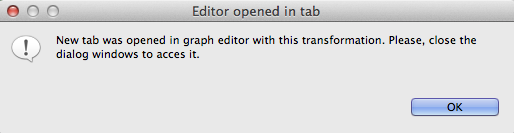
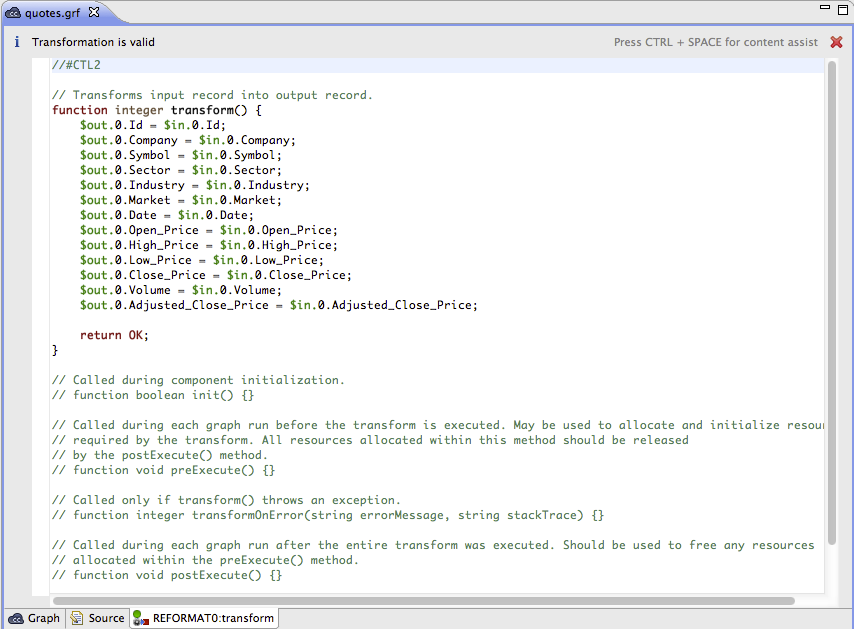
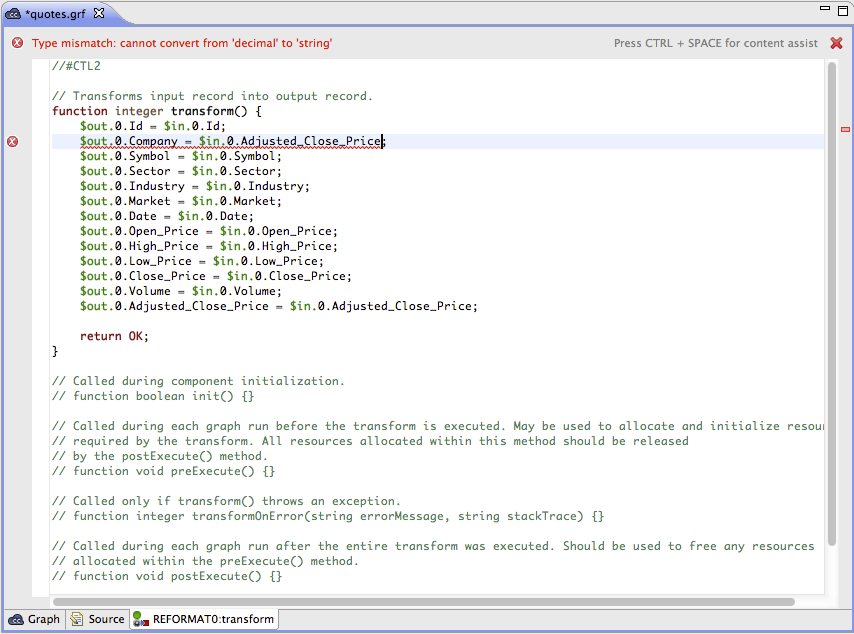
If you click the second button in the upper right corner of the Transform editor, the Open tab button, a new tab with the CTL source code of the transformation will be opened in the Graph Editor. It will be confirmed by the following message:
The tab can look like this:
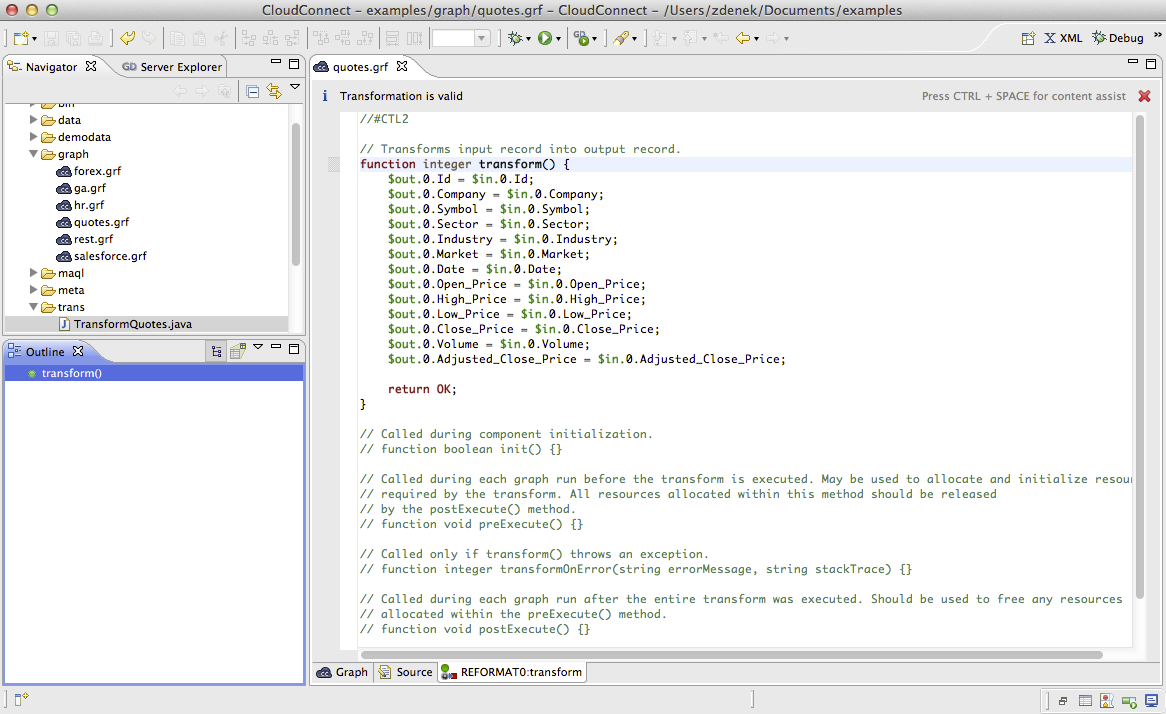
If you switch to this tab, you can view the declared variables and functions in the Outline pane. (The tab can be closed by clicking the red cross in the upper right corner of the tab.)
The Outline pane can look like this:
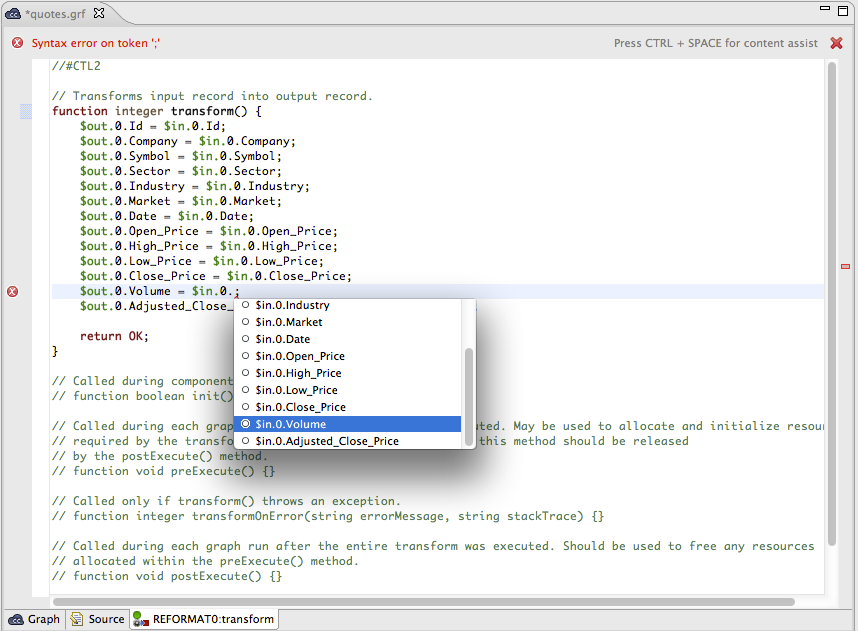
Note that you can also use some content assist by pressing Ctrl+Space .
If you press these two keys inside any of the expressions, the help advises what should be written to define the transformation.
If you press these two keys outside any of the expressions, the help gives a list of functions that can be used to define the transformation.
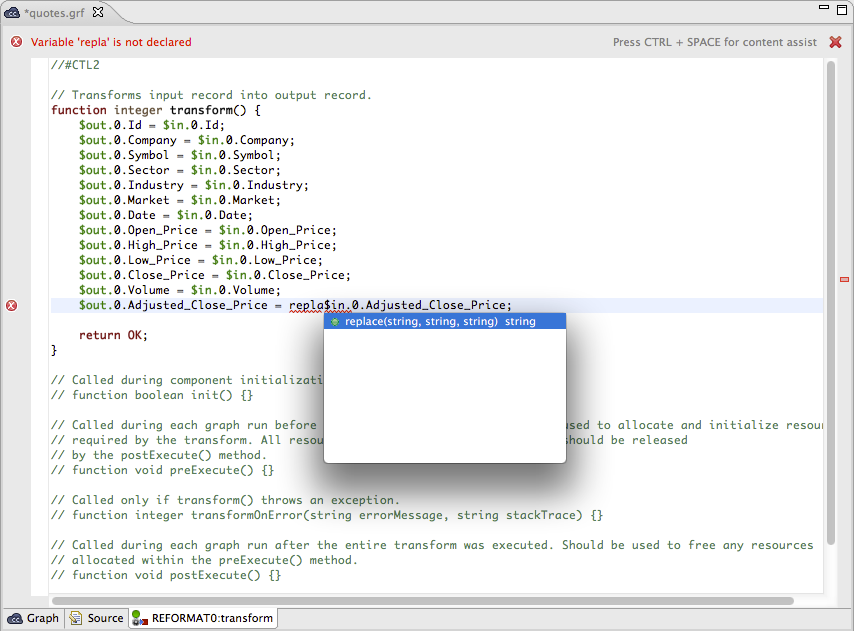
If you have some error in your definition, the line will be highlighted by red circle with a white cross in it and at the lower left corner there will be a more detailed information about it.
If you want to convert the transformation code into the Java language, click the Convert to Java button and select whether you want to use CloudConnect preprocessor macros or not.
After selecting and clicking OK, the transformation converts into the following form:
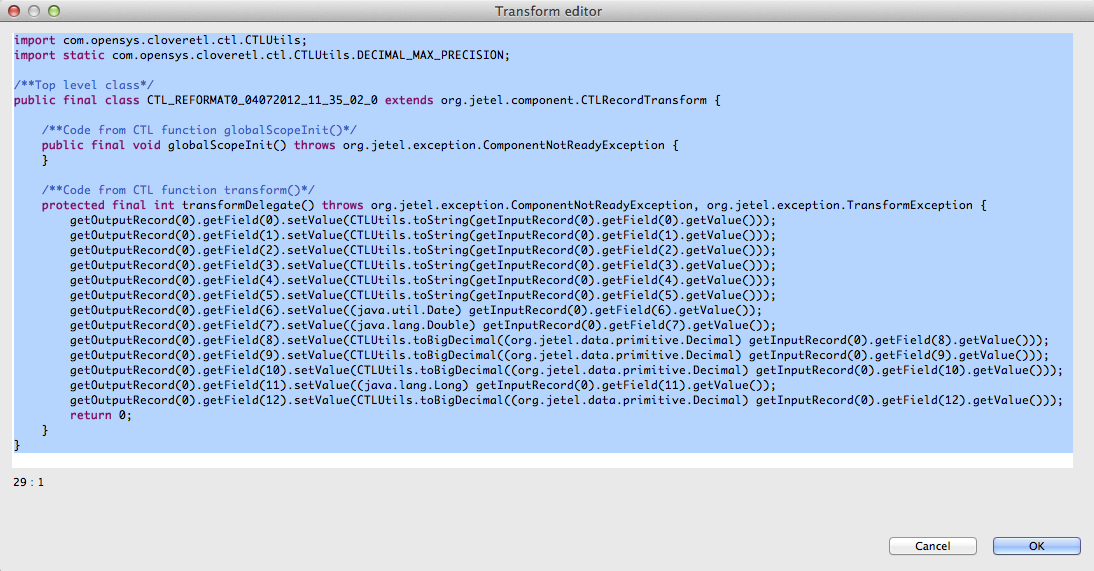
Remember also that you can define your own error messages by defining the last function: getMessage(). It returns strings that are written to console. More details about transformations in each component can be found in the sections in which these components are described.
![[Important]](figures/important.png) | Important |
|---|---|
Remember that the To allow calling this function, you must add |
Regex Tester
This is the last tab of the Transform Editor and it is described here: Tabs Pane.