Creating Empty Graphs
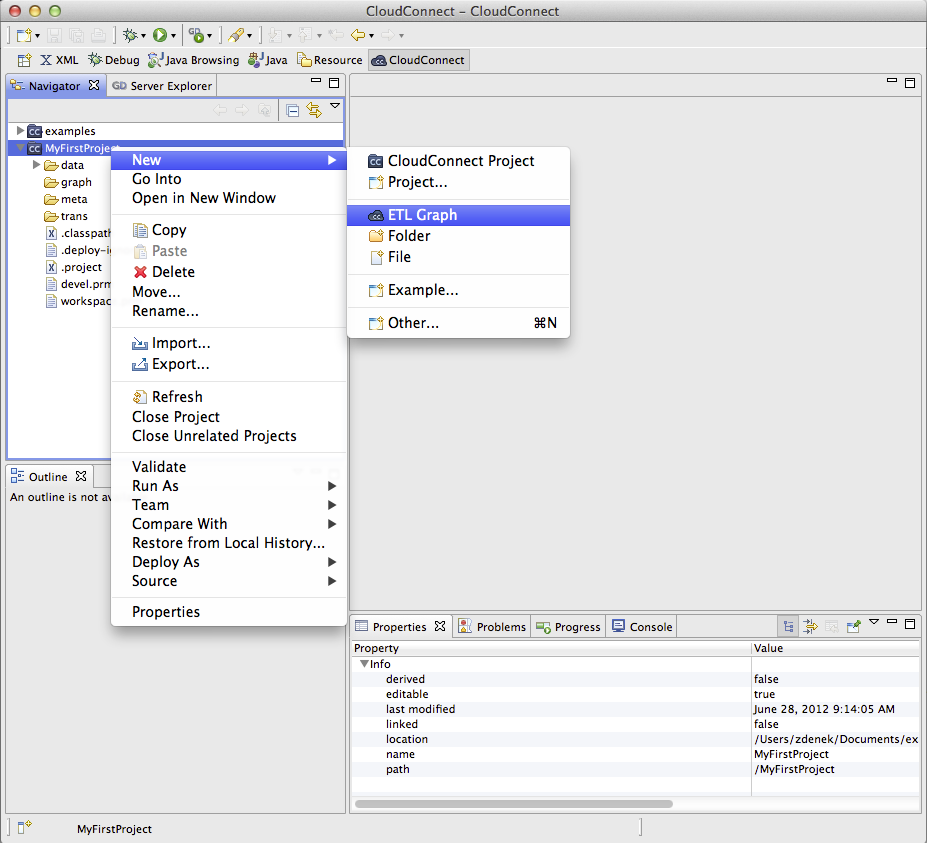
After that, you can create CloudConnect graphs for any of your CloudConnect projects. For example, you can create a graph for your project by choosing → → . You can also right-click the desired project in the Navigator pane and select → from the context menu.
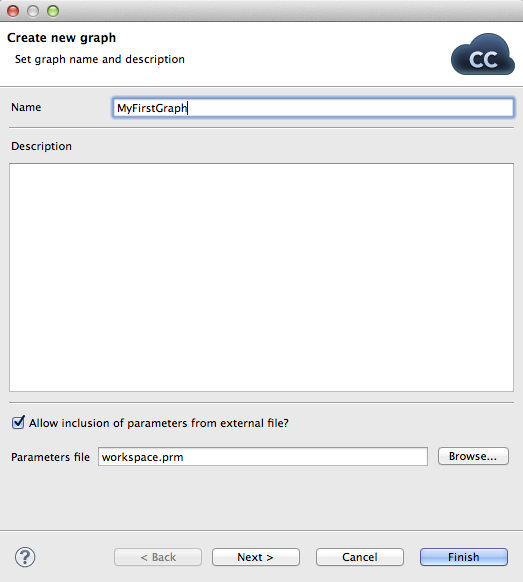
After clicking the item, you will be asked to give a name to the graph. For example, the name can be MyFirstGraph.
Remember that you can decide what parameters file should be included to this project along with the graph. This selection can be done in the text area at the bottom of this window. You can locate some other file by clicking the button and searching for the right one. Or, you can even uncheck the checkbox leaving the graph without a parameters file included.
We decided to have the workspace.prm file included. This default parameter file is automatically attached to every graph that you create inside your CloudConnect project. It is recommended to create all your global transformation parameters (parameters that you want to share across multiple graphs) there. The default GoodData project ID that is referenced from the ${GDC_PROJECT_ID} is a great example of the global variable.
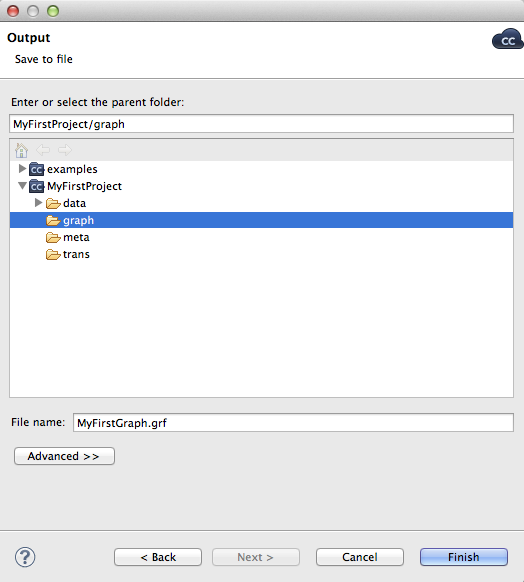
At the end, you can click the button. After that, the extension .grf will be added to the selected name automatically.
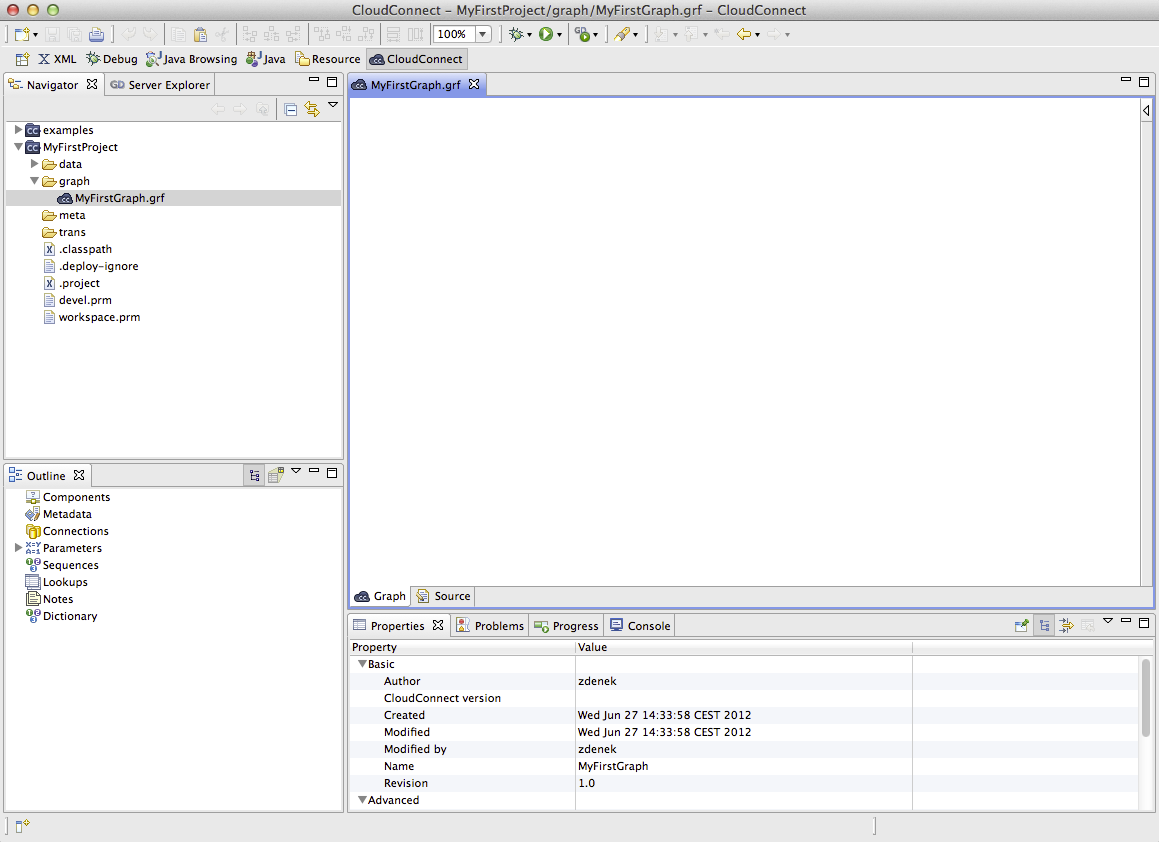
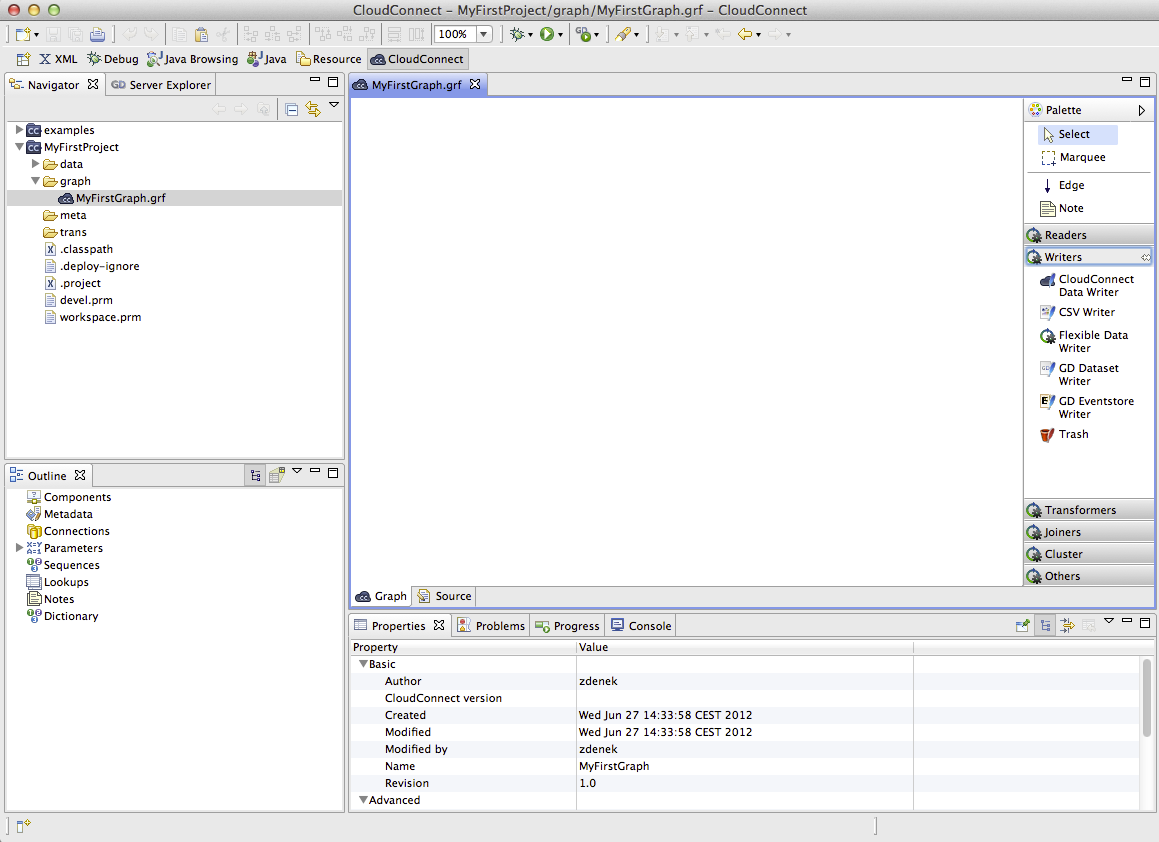
By clicking , you save the graph in the graph subfolder. Then, an item MyFirstGraph.grf appears in the Navigator pane and a tab named MyFirstGraph.grf appears on the window.
You can see that there is a palette of components on the right side of the graph. This palette can be opened and closed by clicking the button. If you want to know what components are, see Part IX, Components Overview for information.
