Managing Users in Workspaces
For Administrators only
Through the Workspace & Users tab in the Manage section, you can manage the users in the workspaces.
See Administrating Workspaces and Workspace Objects.
Email Users
Click Email all members of workspace in the Workspace & Users tab.
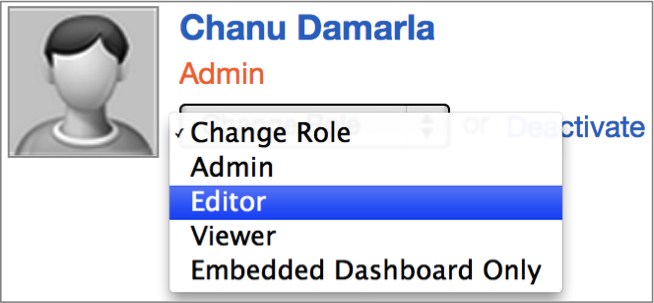
Change User Roles
Use the dropdowns that appear next to each user’s name.

For more information, see User Roles.
You can also change user roles using the API. See API for changing the user role.
Remove Users
Invite Users
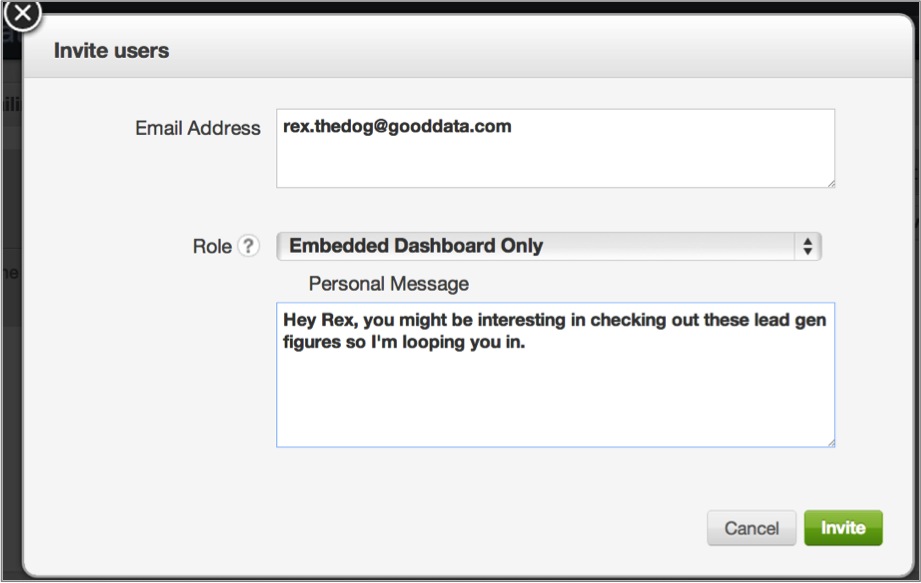
To invite new users to your workspace, click the + Invite Users button.
From the Invite users dialog, you can define a prospective user’s role and add a personalized message to include in the email invitation.
You can add users to a workspace silently via API. These users do not receive an invitation. See the API for adding a user.
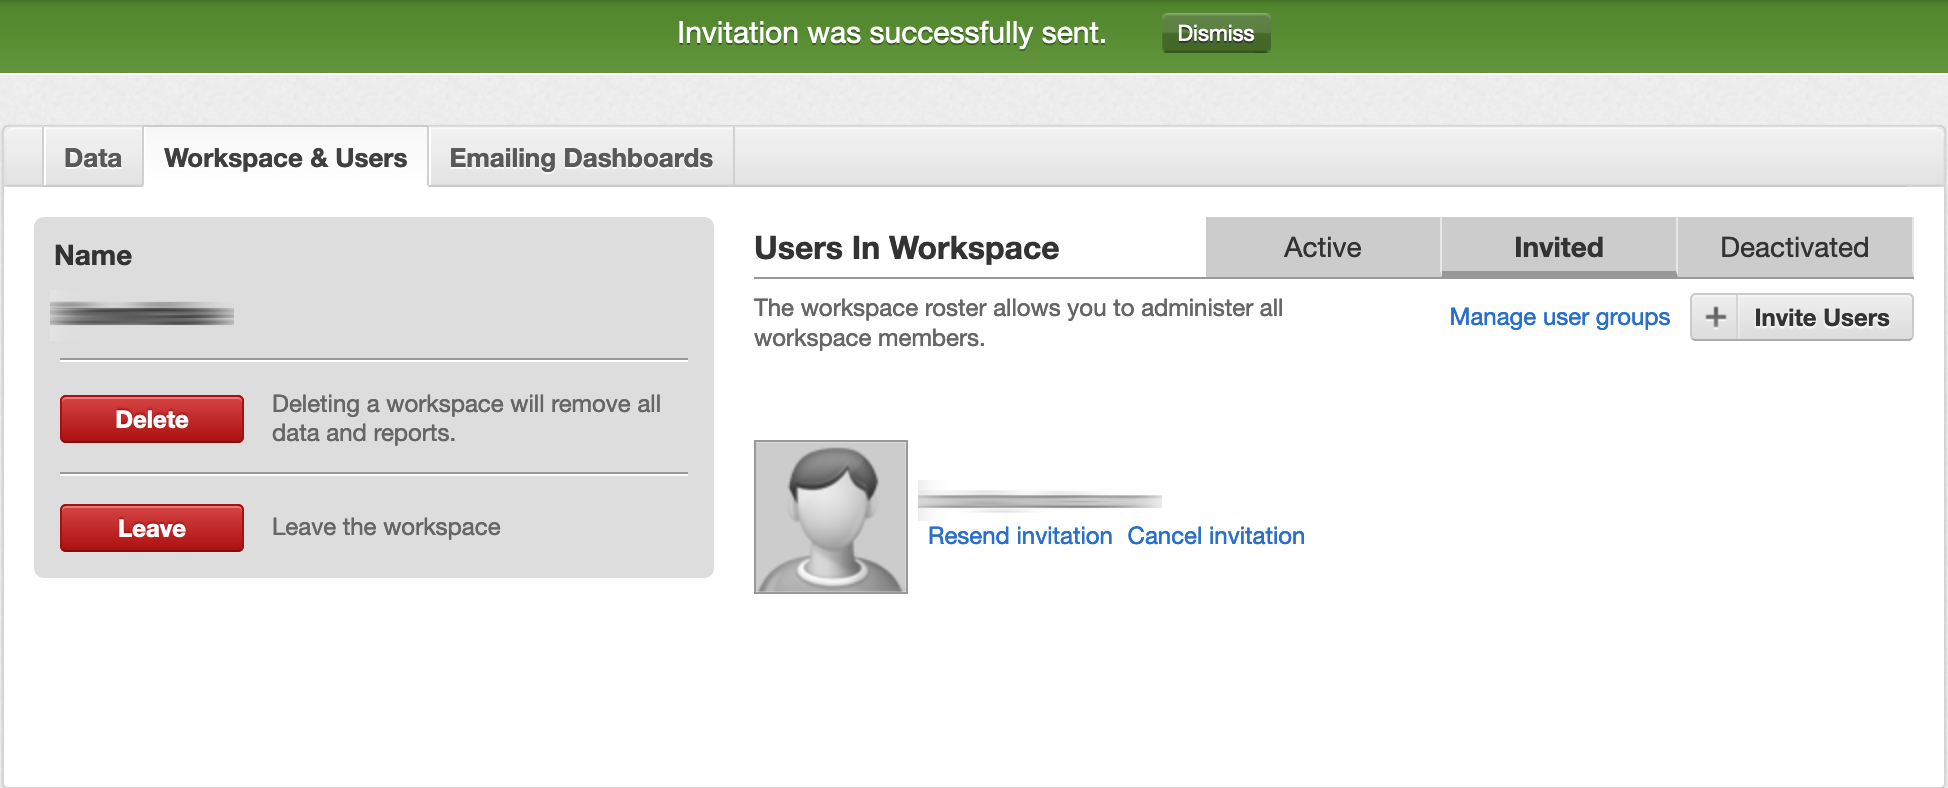
Review Invitations
Check the status of prospective users who have been invited to your workspace from the Invited tab.
You can also resend or cancel invitations to users.
This section contains the following topics:
- Provisioning Users to Domains and Workspaces
- User Roles
- Use the Users Brick to Provision Users in Your Workspaces
- Managing Workspace Member Profiles
- Find the User ID
- Update a User Email
- Use Groups to Share Dashboards with Multiple Users
- Inviting Users with Pre-applied Data Permissions
- Disable or Delete Users
- Set Default Number Format for Your User Account

