Filters in Dashboards
You can filter dashboards by date or any attribute available in your workspace. These filters apply to all KPIs and insights on the dashboard.
Date filters
For details, see Date Filters in Dashboards.
Attribute filters
Dashboards do not override attribute filters from insights. For details about interactions of date filters, see Filter Metrics by Date and Date Filters in Dashboards.
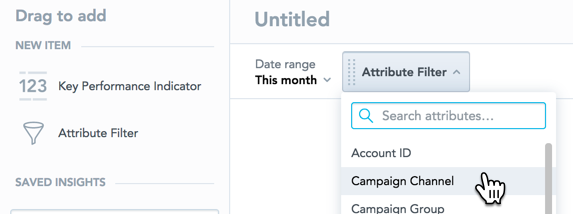
To filter by attributes, drag and drop Attribute filter to the filter bar at the top and select an attribute from the dropdown menu.
Select Different Label
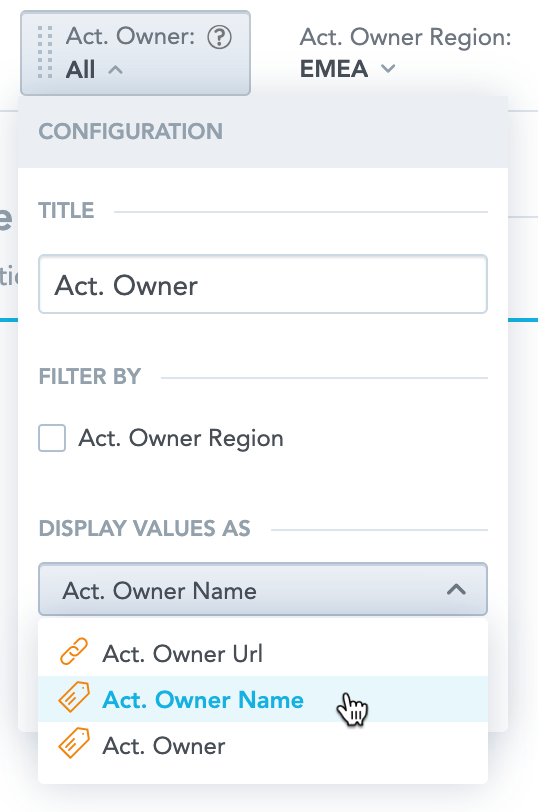
If the attribute has multiple labels, click the filter name, then Configuration and select the label in the Display values as.
Reorder Filters
To change the order of the filters, drag a filter to a new position in the filter bar.
Rename Filter
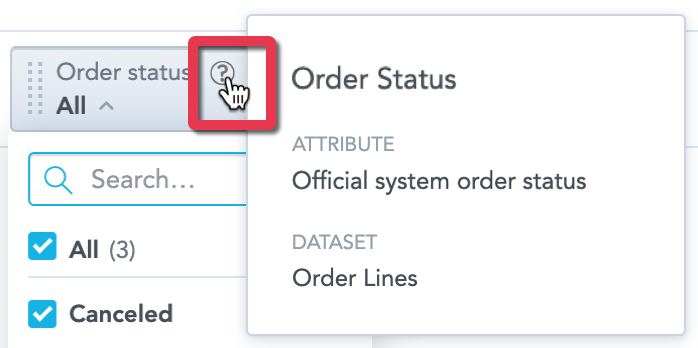
To change the filter name, click Configuration in the opened filter, set a new name and Save. To display the original filter name, click the filter and hover your mouse over the question mark icon. To change the name back to the default one, click Reset in the filter configuration.
Any change to the filter name applies only to the one particular dashboard.
Toggle Between Single And Multiple Value Filter
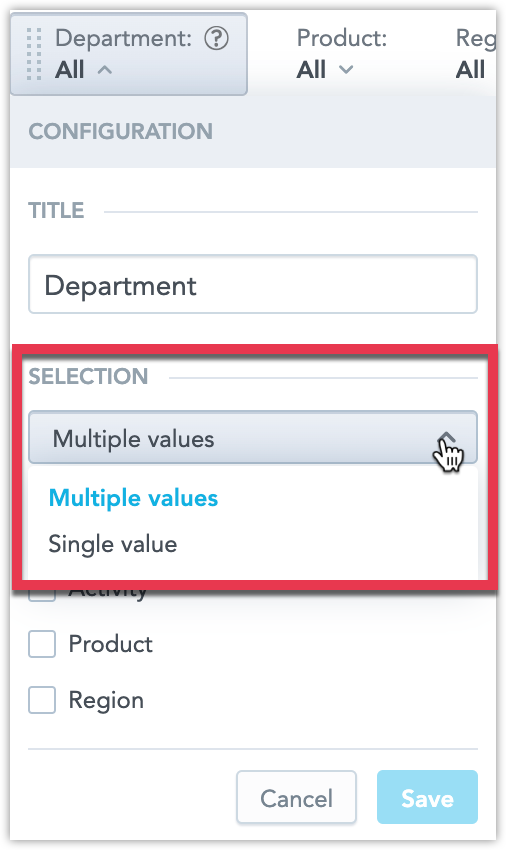
By default the selection type is set to multiple values, letting the user select any combination of attribute values to filter for. You can switch the filter to a single value selection type, which lets the user select only one value at a time.
In the Selection field, select Single value from the dropdown menu and click Save.
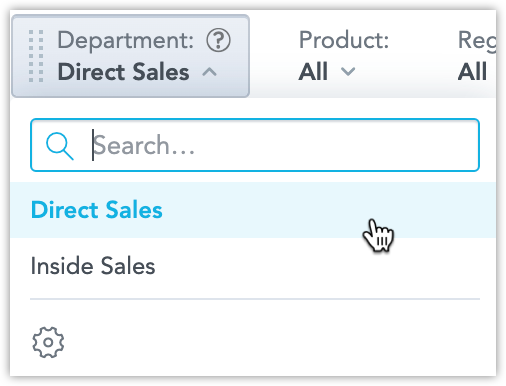
Now you can select only one value at a time to filter by:
Using single value filters with alerts
Please consider that when you change the type of the filter to single-select after having created an alert, and then you open the dashboard from the alert email, only the first value will be shown. To a casual user the alert may appear to be firing incorrectly.
When working with dashboard drilling, it is important to be aware that the attribute filters in your dashboard may be influenced by the attribute filters in the dashboard a user is drilling in from. Similarly, the attribute filters in your dashboard may impact the attribute filters in the dashboard a user drills into from your dashboard. See How the Attribute and Date Filters Interact.
Delete Filter
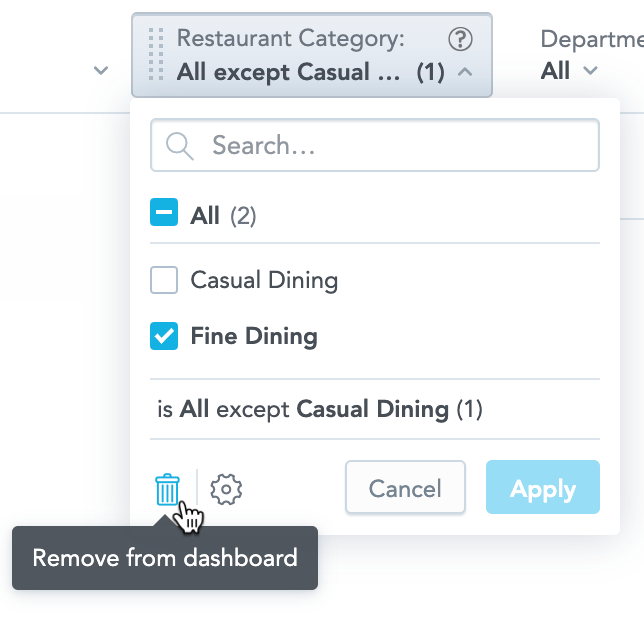
To delete the attribute filters, drag the filters back to the sidebar or use the remove button in their dropdown menu.
To enable the remove button, set the enableKPIDashboardDeleteFilterButton platform setting to true. For details, see Configure Various Features via Platform Settings.
Dependent attribute filters
If you have multiple attribute filters with many items, you can configure the filters to create a hierarchy. Filters then show only the items that correspond with the selections in their parent filters.
You cannot use the date range filter as a parent or child.
Steps:
- Open a dashboard for editing.
- Add attribute filters to the filter bar.
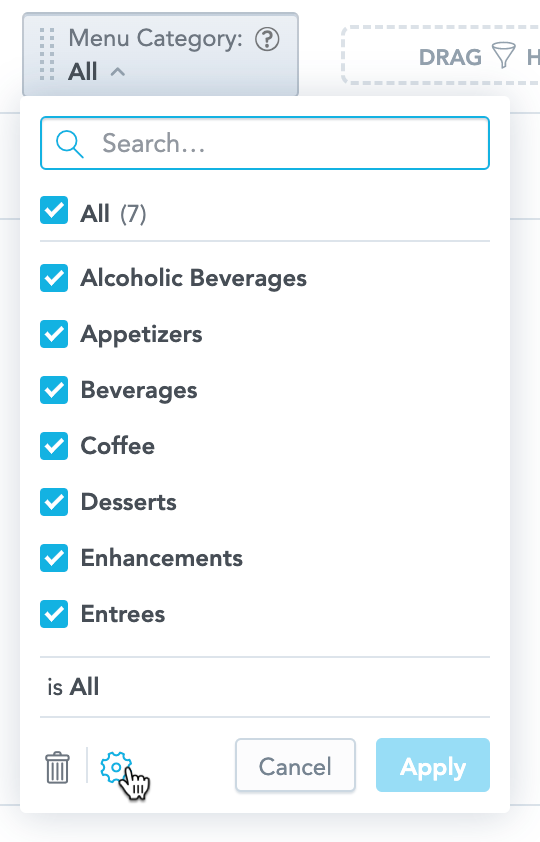
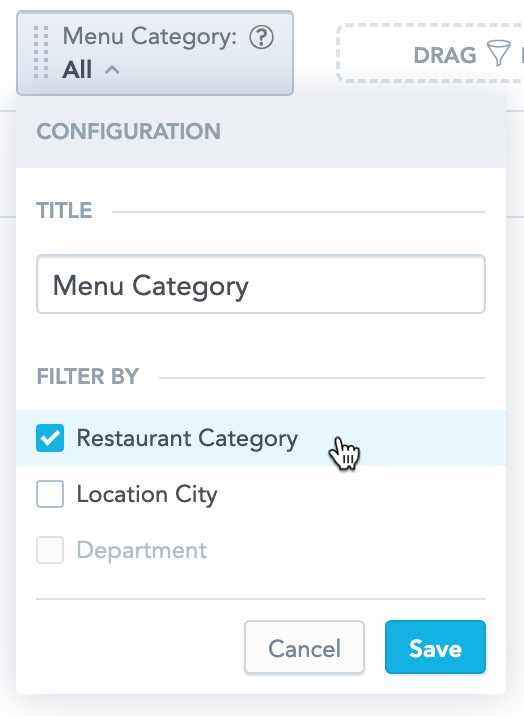
- For each attribute to display items filtered by another attribute, click the filter and then click Configuration.
- In the Filter by section, select a parent attribute filter. You can select multiple parent filters.
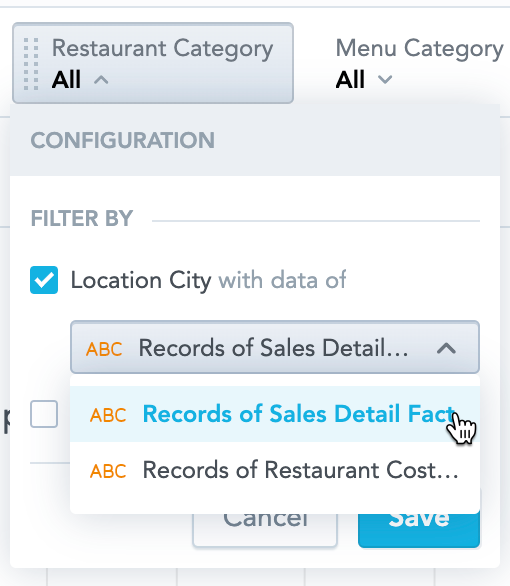
- If there are multiple connections between the attributes, select one in the dropdown menu.
- Click Save.
Now if you narrow the selection in the parent filter, the dependent filters show only items corresponding with the parent filter selection.
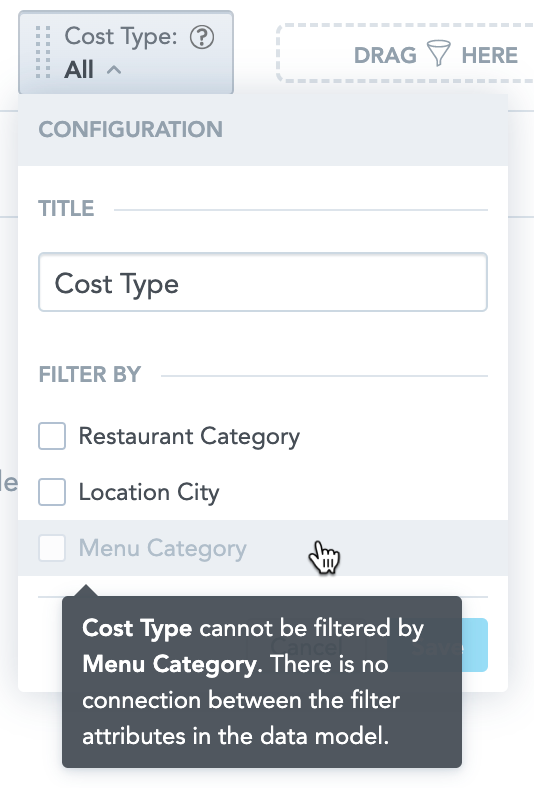
To connect filters, their associated attributes must be connected in the logical data model. If the attributes are not connected, the option to connect them is disabled in the filter configuration.
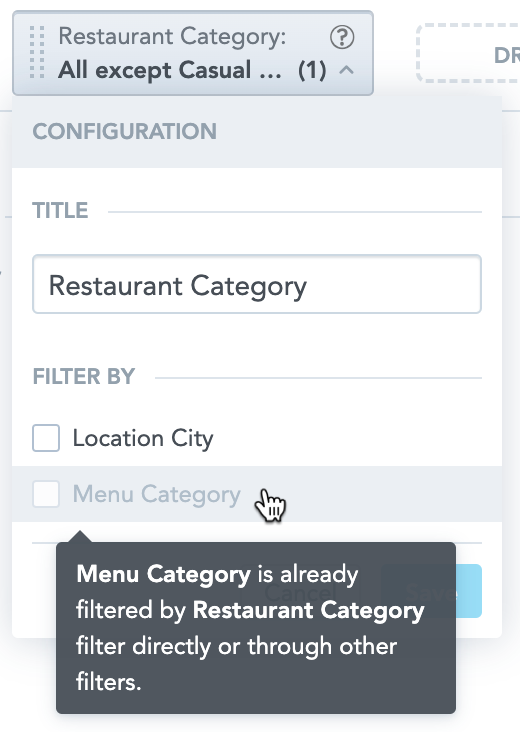
You cannot connect a parent filter back to the child. This applies also to connections through other filters as well. For example, if you filter Menu Category by Restaurant Category, you cannot configure Restaurant Category to be filtered by Menu Category.
Example
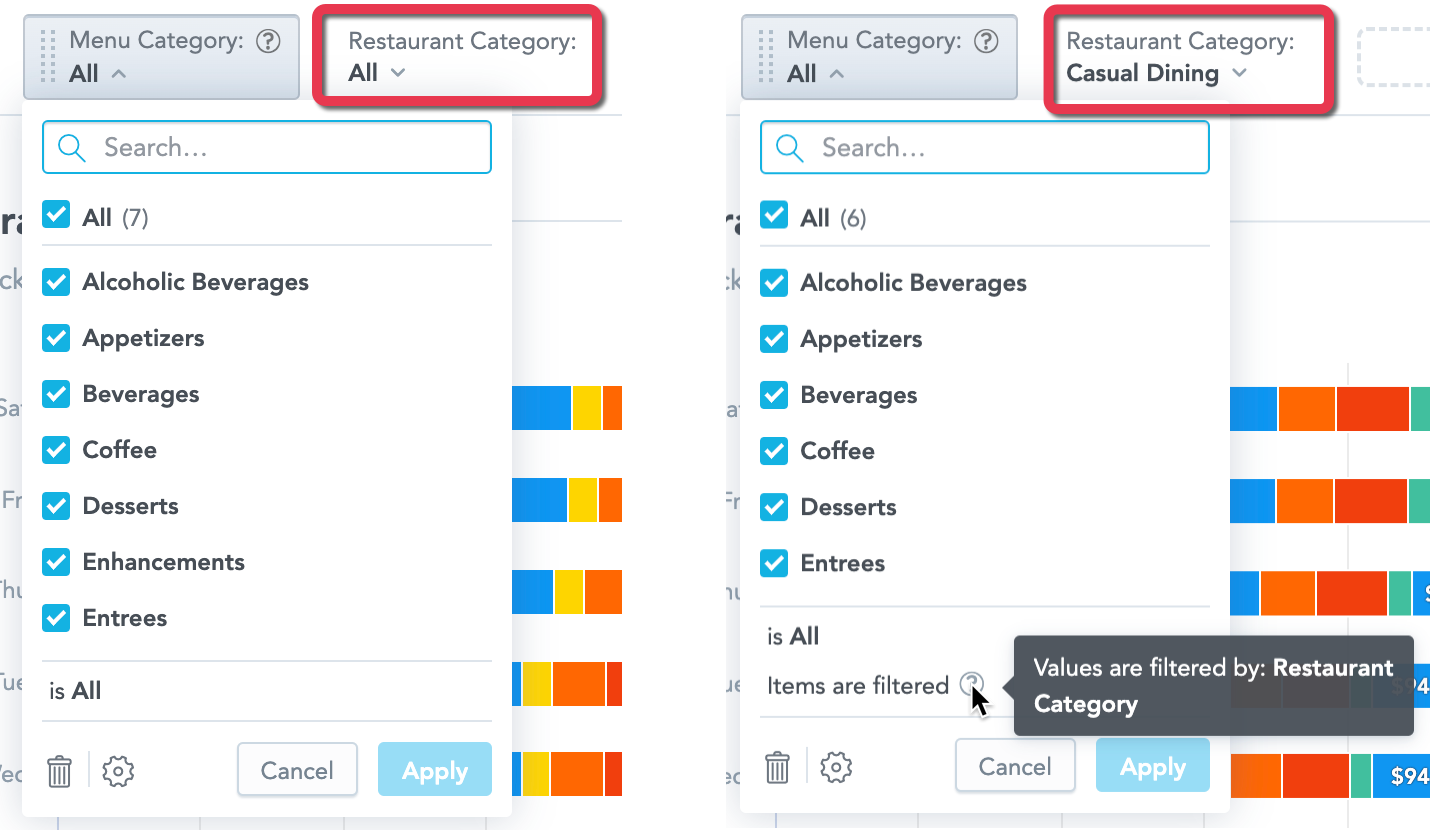
You have two attribute filters on your dashboard: Restaurant Category and Menu Category.
Menu Category is filtered by Restaurant Category (Restaurant Category is a parent filter of the Menu Category).
You narrow the Restaurant Category to display only Casual Dining. The Menu Category then displays only a limited set of items that correspond with Casual Dining.
Reset Filters
As a dashboard viewer, you can use Reset all filters button to reset filters to their default values.
You can disable filter resetting by enabling the disableFilterReset platform setting
