Integrate Data Warehouses Directly to GoodData based on an Existing LDM
This tutorial guides you through the process of setting up direct data distribution to load data from an Amazon Redshift data warehouse to the GoodData platform.
This tutorial assumes that you have a GoodData workspace and this workspace has a logical data model (LDM) that meets your business requirements for data analysis. During this tutorial, you are going to generate the Output Stage based on the data structure in your LDM without updating the LDM itself.
By the end of this tutorial, you should be able to configure your Redshift instance and connect it to the GoodData platform, and set up the data load to run regularly.
- This tutorial focuses on the Redshift data warehouse. If you are using a different supported data warehouse, you can still follow this tutorial because the performed steps are similar or the same. When different actions are required for your data warehouse, we will provide you with warehouse-specific information.
- This tutorial assumes that you access your workspaces at https://secure.gooddata.com/. If you are a white-labeled customer, replace
secure.gooddata.comwith your white-labeled domain in the procedure steps.
If you do not have a GoodData workspace yet or want to generate/update an existing LDM to best fit the existing data structure in your data warehouse, see Integrate a Data Source for a Data Warehouse. Depending on your experience, you can start with your own data or you can first try using our sample data for your warehouse-GoodData integration to better understand the processes involved.
Set up a connection between your data warehouse and the GoodData platform
The connection string is described within the entity called Data Source. Create a Data Source for your data warehouse. For more information, see Create a Data Source.
Create the GoodData-compatible Output Stage on top of your LDM
The Output Stage is a set of tables and views that serve as a source for loading data into your GoodData workspaces. To create the Output Stage, you are going to use the API that scans the logical data model (LDM) and suggests SQL DDLs that you can use to create views/tables on top of your tables based on the data structure in your LDM. You will then execute those SQL DDLs on your schema.
To learn how Redshift data types are mapped to GoodData LDM data types, see GoodData-Redshift Integration Details.
For the other data warehouses, see:
- GoodData-Azure SQL Database Integration Details
- GoodData-Azure Synapse Analytics Integration Details
- GoodData-BigQuery Integration Details
- GoodData-Microsoft SQL Server Integration Details
- GoodData-MongoDB BI Connector Integration Details
- GoodData-MySQL Integration Details
- GoodData-PostgreSQL Integration Details
- GoodData-Snowflake Integration Details
Steps:
In GoodData, terms workspace and project denote the same entity. For example, project ID is exactly the same as workspace ID. See Find the Workspace ID.
Find the workspace ID and copy it for later use.
Use the API for generating the Output Stage based on the LDM:
API resource:
https://secure.gooddata.com/gdc/dataload/projects/{workspace_id}/generateOutputStageMethod:
POSTRequest body:
{
  "modelToOutputStageRequest": {
    "settings": {
      "mode": "full",
      "generateViews": false
    },
    "dataSource": "{data_source_id}"
  }
}
"mode": "full"generates a DDL to create new tables/views regardless of whether the tables/views already exist."generateViews": falseproduces a DDL script that generates tables (not views)."dataSource": "{data_source_id}"specifies the ID of the Data Source for which you want to generate the Output Stage and which you create at the step Set up a connection between your data warehouse and the GoodData platform.
For more options available in this API, see API: Generate the Output Stage based on the LDM.
Request headers:
Content-Type: application/json
Accept: application/json
The link for polling for status of the Output Stage generation is returned.
Poll for the status until the API returns SQL DDLs to create GoodData-compatible tables.
Here is an example of the SQL DDLs:
set search_path "${target_schema}";

--------------------------------------------------
-- OUT_campaign_channels --
--------------------------------------------------
CREATE TABLE OUT_campaign_channels (
        “f__spend” NUMERIC(12,2),
        “a__type” VARCHAR(128),
        “r__campaigns” VARCHAR(128),
        “f__budget” NUMERIC(12,2),
        “a__category” VARCHAR(128),
        “cp__campaign_channel_id” VARCHAR(128)
             , “x__client_id” VARCHAR(128) NOT NULL  /* Remove this line if loading into all client workspaces */
             , “x__timestamp” TIMESTAMP NOT NULL  /* Remove this line if it’s not incremental load */
             , “x__deleted” BOOLEAN DEFAULT false  /* Remove this line if inserting only */
);

--------------------------------------------------
-- OUT_campaigns --
--------------------------------------------------
CREATE TABLE OUT_campaigns (
        “cp__campaign_id” VARCHAR(128),
        “a__campaign_name” VARCHAR(128)

             , “x__client_id” VARCHAR(128) NOT NULL  /* Remove this line if loading into all client workspaces */
             , “x__timestamp” TIMESTAMP NOT NULL  /* Remove this line if it’s not incremental load */
             , “x__deleted” BOOLEAN DEFAULT false  /* Remove this line if inserting only */
);
Copy the returned SQL DDLs and paste them into your SQL client.
Review the suggested SQL DDLs and modify them, if needed. Specifically, delete the columns with the
x__prefix. You can introduce them later, if needed. For more information about these columns, see “Special Columns in Output Stage Tables” in Naming Convention for Output Stage Objects in Automated Data Distribution v2 for Data Warehouses.Execute the SQL DDLs. Your Output Stage is ready. For more information about the naming convention, see Naming Convention for Output Stage Objects in Automated Data Distribution v2 for Data Warehouses.
In your data warehouse, set up a process to regularly load source data from your production tables to the Output Stage tables.
You have configured everything on the Redshift side.
You are now going to deploy, schedule, and run the Automated Data Distribution (ADD) v2 process that will load the data from your Redshift Output Stage to the workspace. For more details about ADD v2, see Automated Data Distribution v2 for Data Warehouses.
Deploy, schedule, and run the ADD v2 process
Deploy the ADD v2 process to the GoodData platform and then create a schedule for the deployed process to automatically execute the data loading process at a specified time.
Steps:
- From the Data Integration Console (see Accessing Data Integration Console), click Workspaces.
- Click the name of the workspace where you want to deploy the process.
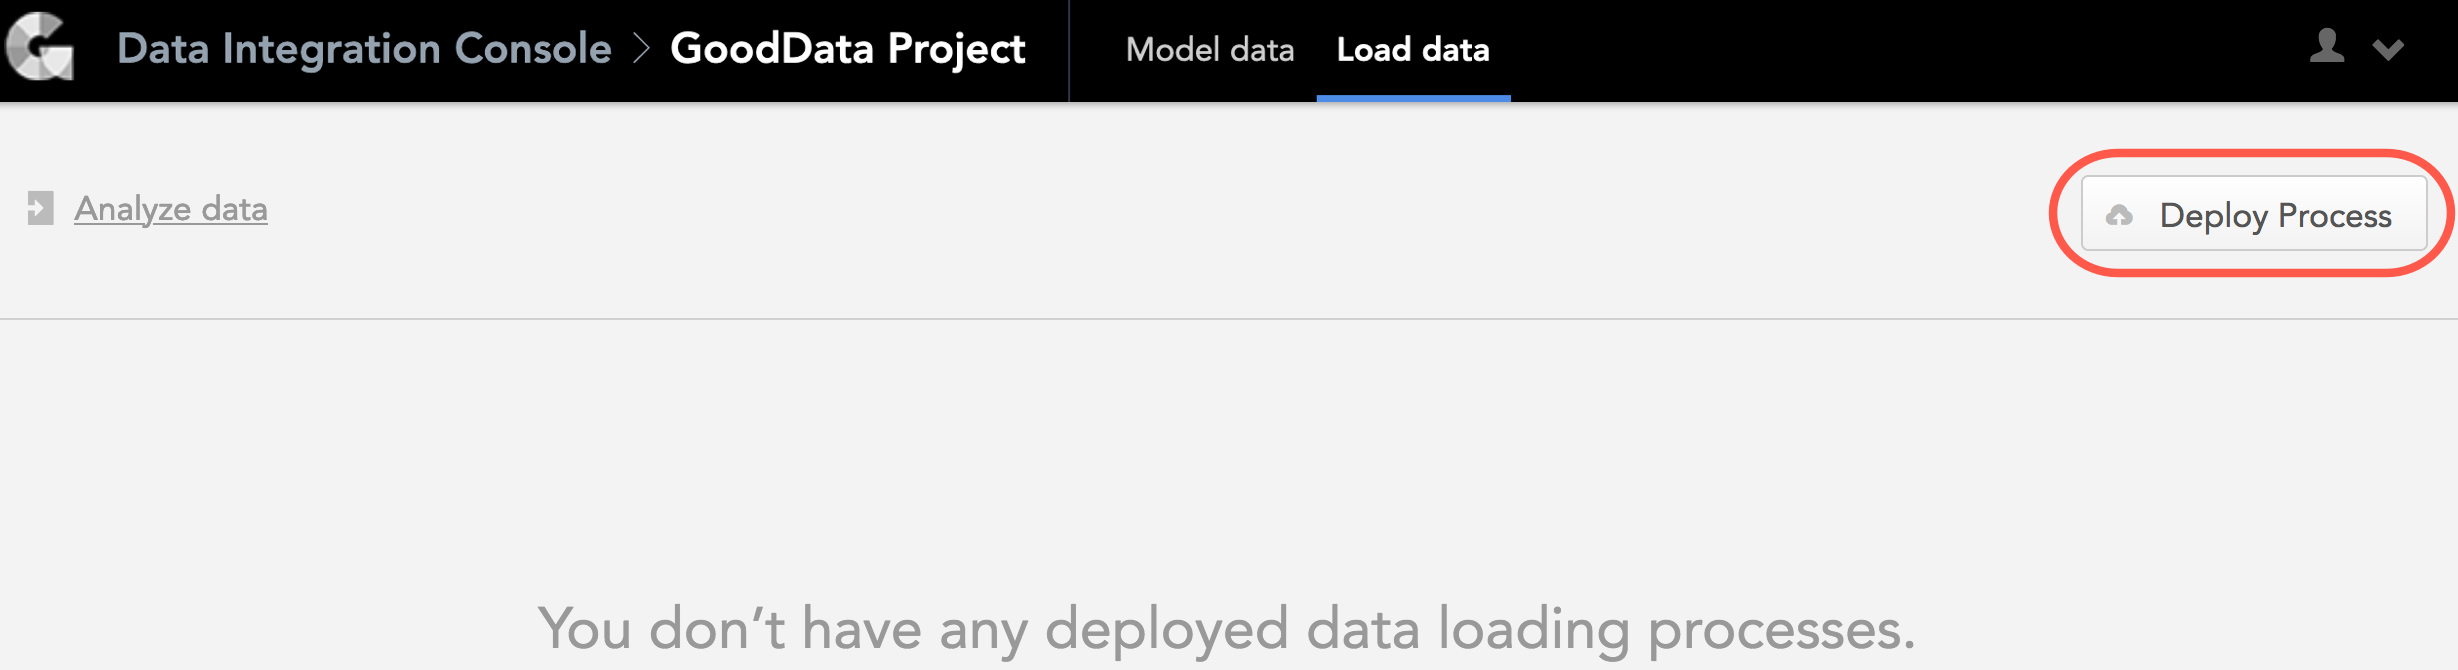
- Click Deploy Process. The deploy dialog opens.
- From the Component dropdown, select Automated Data Distribution.

- From the Data Source dropdown, select the Data Source that you have created at the step Set up a connection between your data warehouse and the GoodData platform.
- Enter a descriptive name for the ADD v2 process.
- Click Deploy. The ADD v2 process is deployed. You are now going to schedule the deployed process.
- For the deployed ADD v2 process, click Create new schedule.

- In the Runs dropdown, set the frequency of execution to manually. This means that the process will run only when manually triggered.
- (Optional) If you want to increase the number of queries to execute in parallel (by default, it is 1), add the
queryParallelismparameter and set it to 2, 3, or 4.
- Click Schedule. The schedule is saved and opens for your preview. You are now going to manually run the scheduled process.
- Click Run. The schedule is queued for execution and is run as platform resources are available.
- If the schedule fails with errors, fix the errors, and run the schedule again. Repeat until the process finishes with a status of OK, which means that the ADD v2 process has loaded the data to your workspace.
- (Optional) In the Runs dropdown, set the frequency of execution to whatever schedule fits your business needs. Click Save. The schedule is saved.
You can now start analyzing your data. Use Analytical Designer and create your first insight.
Summary
You have completed the tutorial. You should now be able to set up direct data distribution from Redshift.