Integrate Data from Your Amazon S3 Bucket Directly to GoodData
This tutorial guides you through the process of setting up direct data distribution to load data from CSV files stored in an Amazon S3 bucket to the GoodData platform.
This tutorial assumes that you have one or multiple GoodData workspaces, and these workspaces have a logical data model (LDM) that meets your business requirements for data analysis.
By the end of this tutorial, you should be able to connect your S3 bucket to the GoodData platform, and set up the data load to run regularly.
If you have multiple workspaces and do not have them organized in segments, set up Automated Data Distribution (ADD) v2 for object storage services first. For more information, see Set Up Automated Data Distribution v2 for Object Storage Services.
Prepare source files
Prepare the source files that you want to load to your workspaces. Make sure that the source files meet the requirements described in GoodData-S3 Integration Details.
Set up a connection between your S3 bucket and the GoodData platform
The connection details are described within the entity called Data Source.
Create a Data Source for the S3 bucket where your source files are stored. For more information about how to create a Data Source for an Amazon S3 bucket, see Create a Data Source.
You are now going to deploy, schedule, and run the Automated Data Distribution (ADD) v2 process that will load the data from your S3 bucket to the workspace. For more details about ADD v2, see Automated Data Distribution v2 for Object Storage Services.
Deploy, schedule, and run the ADD v2 process
Deploy the ADD v2 process to the GoodData platform and then create a schedule for the deployed process to automatically execute the data loading process at a specified time.
- If you have only one workspace to load data to, deploy the ADD v2 process to this workspace.
- If you have multiple workspaces to load data to and you have the workspaces organized into segments (see Set Up Automated Data Distribution v2 for Object Storage Services), deploy the ADD v2 to the service workspace.
Steps:
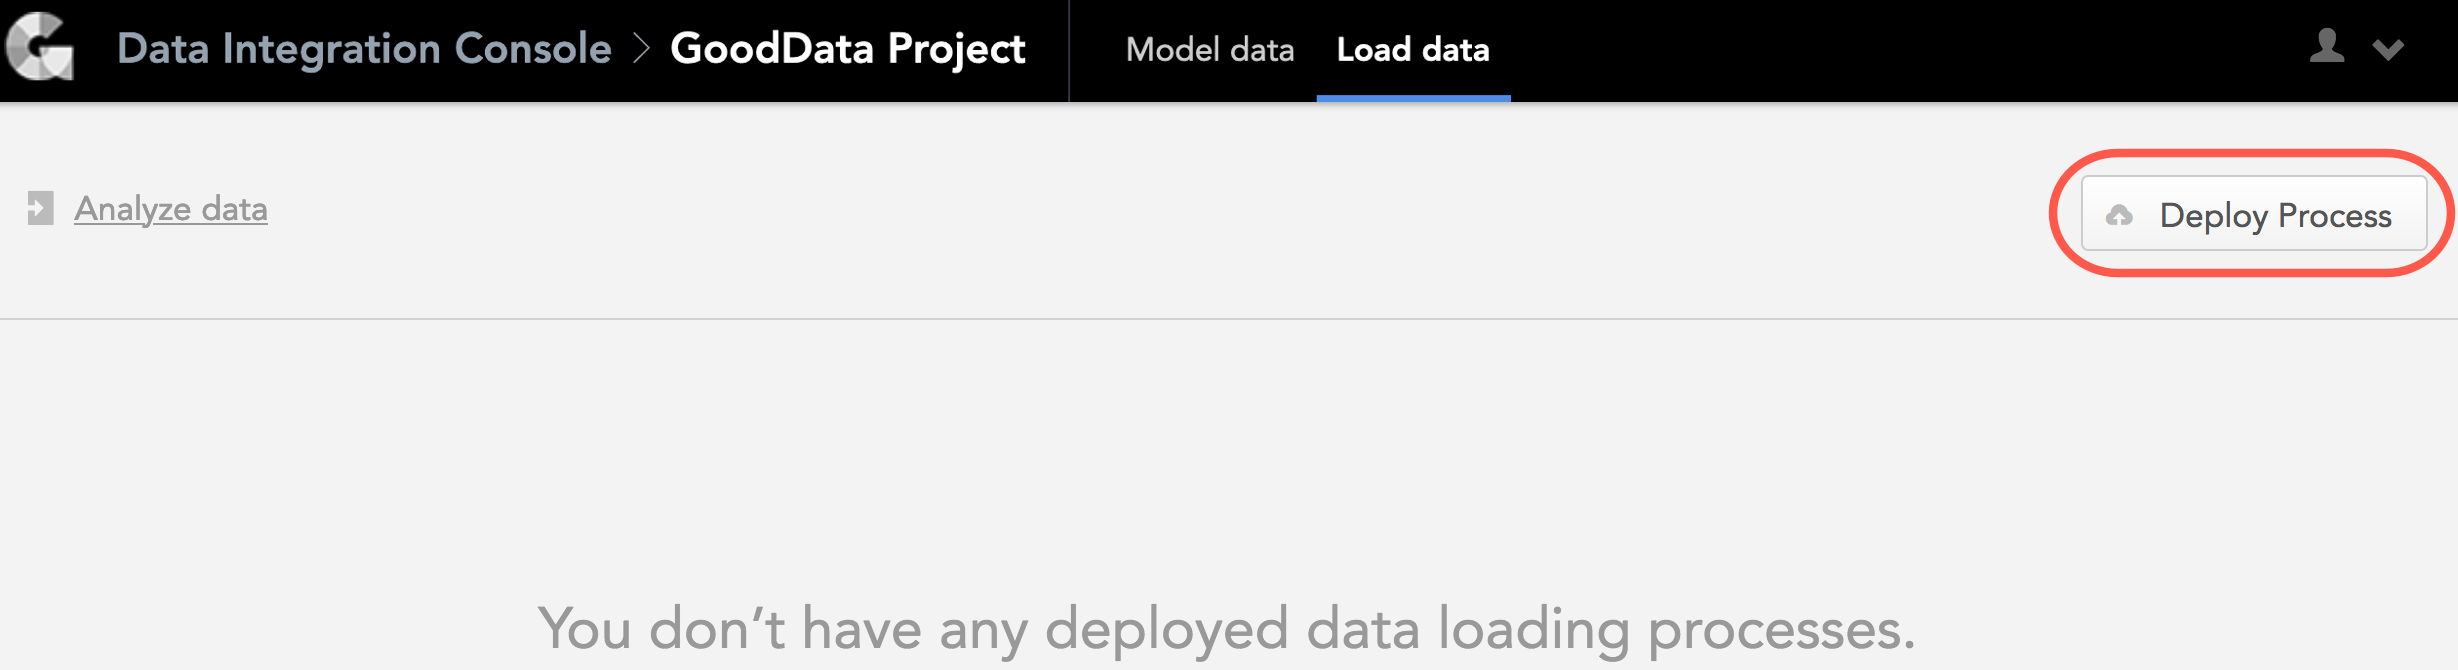
- Click your name in the top right corner, and select Data Integration Console. Alternatively, go to
https://{your.domain.com}/admin/disc/. - On the top navigation bar, select Workspaces and click the name of your workspace.
- Click Deploy Process. The deploy dialog opens.
- From the Component dropdown, select Automated Data Distribution.
- From the Data Source dropdown, select the Data Source that you have created at the step Set up a connection between your S3 bucket and the GoodData platform. The path to your S3 bucket is obtained from that Data Source and displayed for your review.
- (Optional) Add sub-folders to the path to point to the folder where the source files are located.
- Specify the workspaces to load the data to.
If you want to load the data to the current workspace, select Current Workspace.
If you have only one workspace to load data to, the Current Workspace option is the only option available and it is pre-selected by default.If you have multiple workspaces to load data to and you have the workspaces organized into segments (see Set Up Automated Data Distribution v2 for Object Storage Services), select Segment (LCM) and then select the segment containing the workspaces to distribute the data to.
- Enter a descriptive name for the ADD v2 process.
- Click Deploy. The ADD v2 process is deployed. You are now going to schedule the deployed process.
- For the deployed ADD v2 process, click Create new schedule.
- In the Runs dropdown, set the frequency of execution to manually. This means that the process will run only when manually triggered.
- Click Schedule. The schedule is saved and opens for your preview. You are now going to manually run the scheduled process.
- Click Run. The schedule is queued for execution and is run as platform resources are available.
- If the schedule fails with errors, fix the errors, and run the schedule again. Repeat until the process finishes with a status of OK, which means that the ADD v2 process has loaded the data to your workspace.
- (Optional) In the Runs dropdown, set the frequency of execution to whatever schedule fits your business needs. Click Save. The schedule is saved.
You can now start analyzing your data. Use Analytical Designer and create your first insight.
Summary
You have completed the tutorial. You should now be able to set up direct data distribution from an S3 bucket.