Publish a Logical Data Model
For workspace administrators only
Save the Logical Data Model
Steps:
Click Save.
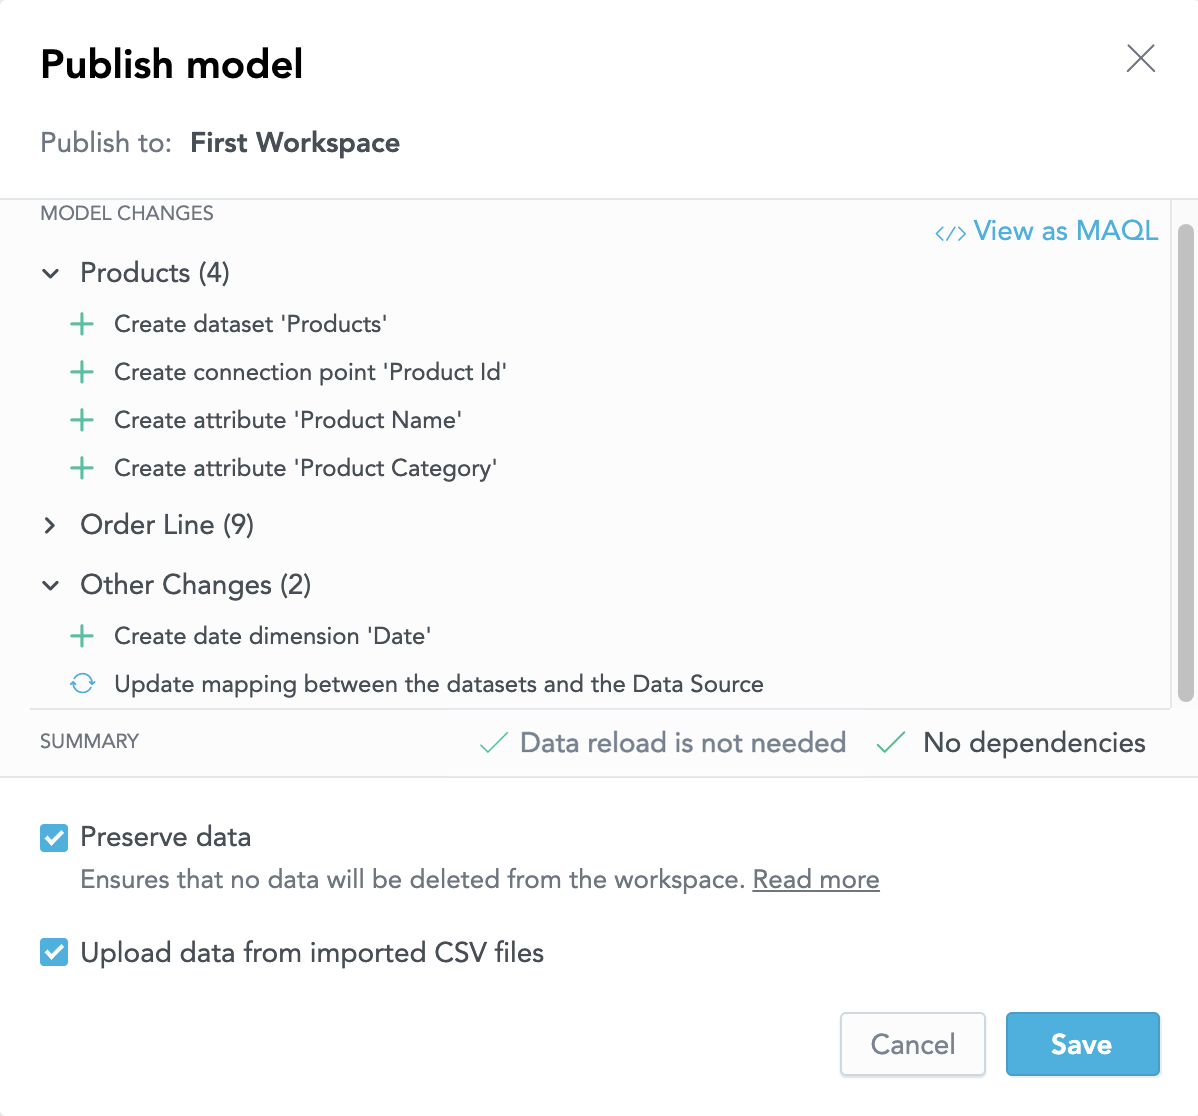
You are prompted with a list of changes to the logical data model (LDM) and a Summary health check.Review the list of the changes and the summary of the saving outcomes. You can also view the change as MAQL.
Select the saving options:
Preserve data This option ensures that data loaded into the workspace from Data Sources or CSV files is not deleted. This option is selected by default.
Upload data from imported CSV files This option displays when you create or update a dataset from a CSV file (see Create a Logical Data Model from CSV Files). Data contained in the imported CSV file is uploaded to the dataset that was created from or based upon this file. This option is selected by default. If you do not want to load the data from the CSV file and want to only create the dataset or update its structure, de-select the checkbox.
Click Save. The saving process starts. When the saving completes, you see a message that the LDM has been saved.
Close the message.
Check the post-saving actions and perform those relevant for you.
Force Save the Logical Data Model
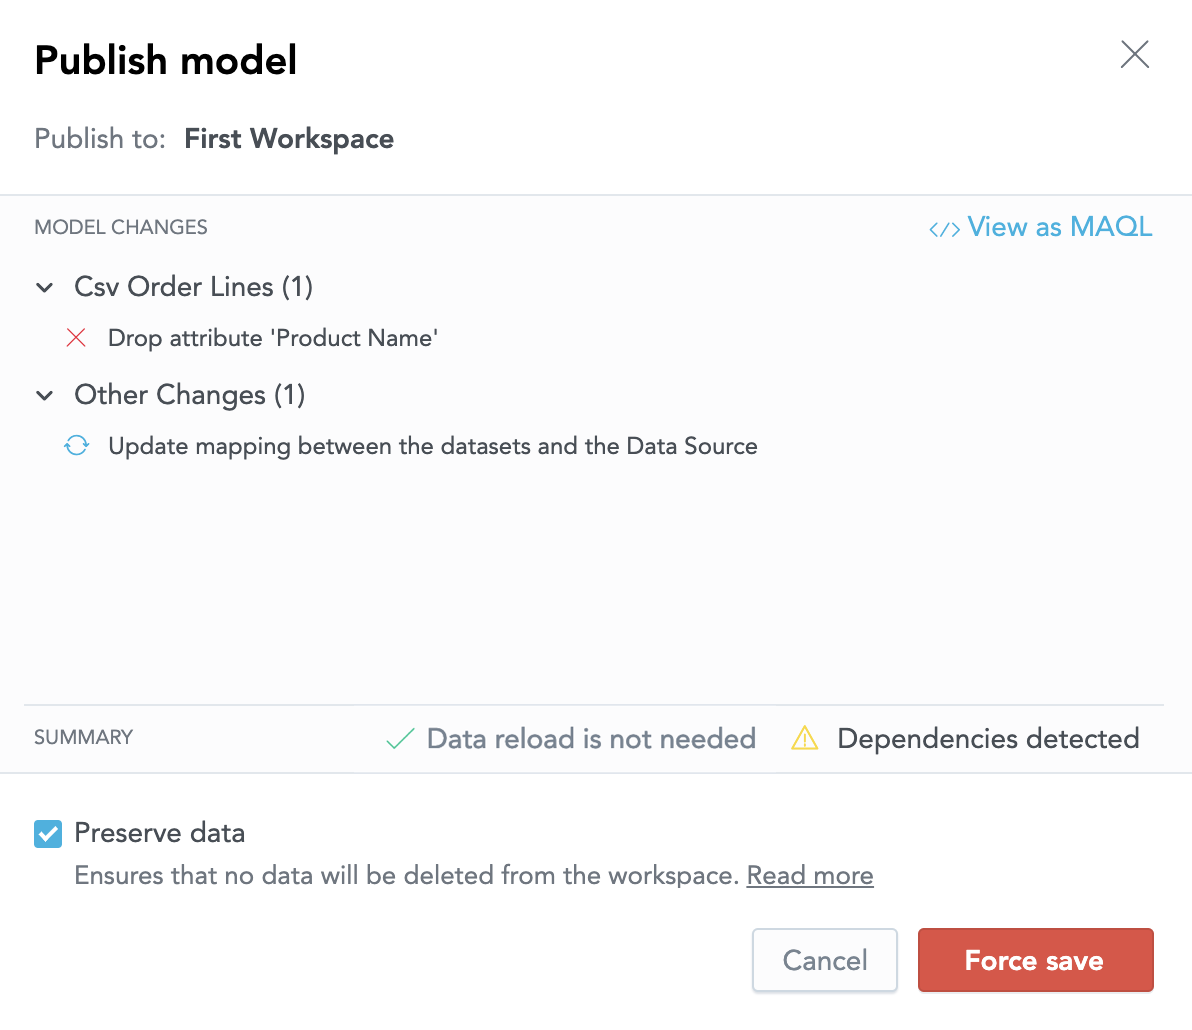
Force saving overwrites the LDM in the workspace with the LDM being drafted in the LDM Modeler. You must force save when updates to the LDM include deleting an object that has dependencies in the workspace such as dashboards, insights, or metrics. Dependent objects are deleted as part of the saving process.
Force saving removes any metrics, attributes, or dashboards from the workspace that were dependent on the deleted LDM object. Force saving cannot be undone.
Steps:
Click Save.
You are prompted with a list of changes to the LDM and a Summary health check.Review the list of the changes and the summary of the saving outcomes. You can also view the change as MAQL.
Select the saving options.
Preserve data This option ensures that data loaded into the workspace from Data Sources or CSV files is not deleted. This option is selected by default.
Upload data from imported CSV files This option displays when you create or update a dataset from a CSV file (see Create a Logical Data Model from CSV Files). Data contained in the imported CSV file is uploaded to the dataset that was created from or based upon this file. This option is selected by default. If you do not want to load the data from the CSV file and want to only create the dataset or update its structure, de-select the checkbox.
Click Save. The saving process starts. When the saving completes, you see a message that the LDM has been saved.
Close the message.
Check the post-saving actions and perform those relevant for you.
Post-Saving Actions
After the saving is finished, do the following:
- If you upload data from a cloud data warehouse (for example, Snowflake or Redshift) and use the Output Stage as a source for loading data to your workspaces, create the Output Stage (see Create the Output Stage based on Your Logical Data Model).
- If you do not have data load processes set up yet, schedule them to load data regularly (see Schedule a Data Load).
saving Status of the LDM Datasets
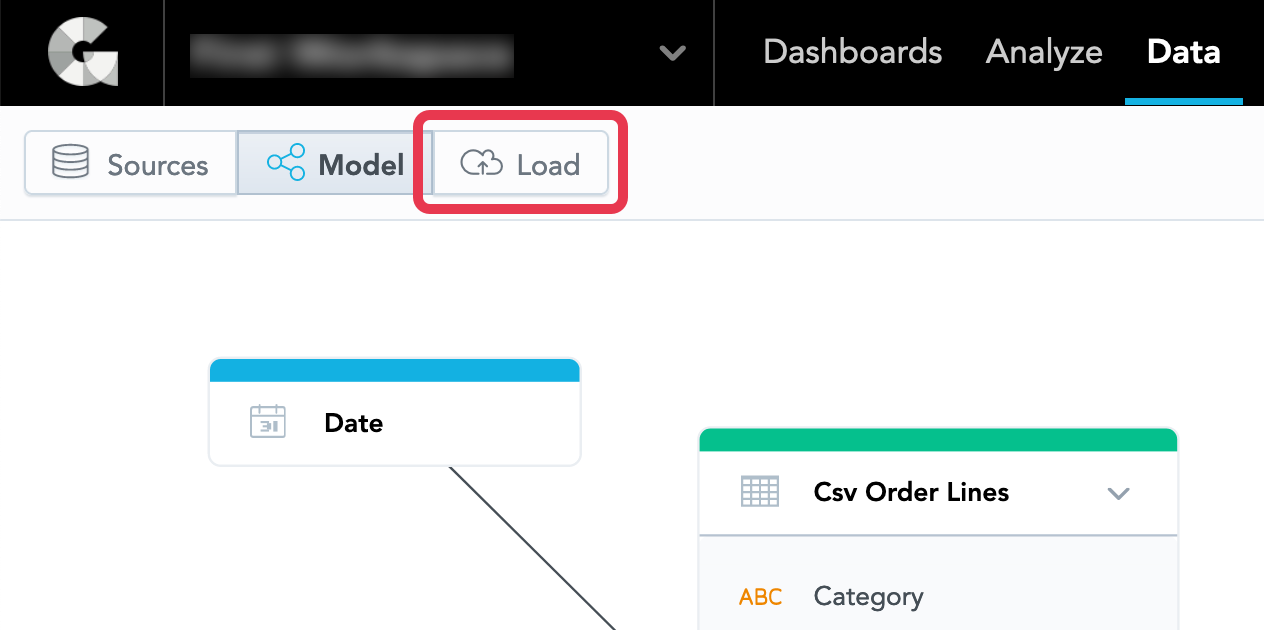
To check the status of the datasets in your LDM, click Load on the left.
The datasets that have been saved are listed under the Dataset Loads section:
The datasets that have been added to the LDM but have not yet been saveded (saved as a draft) are not listed here.
You may notice the Update from file and CSV Template buttons for each dataset. You use these buttons for loading data from a CSV file to a dataset directly in the LDM Modeler. For more information about loading data from a CSV file to a dataset, see Update Data in a Dataset from a CSV File.
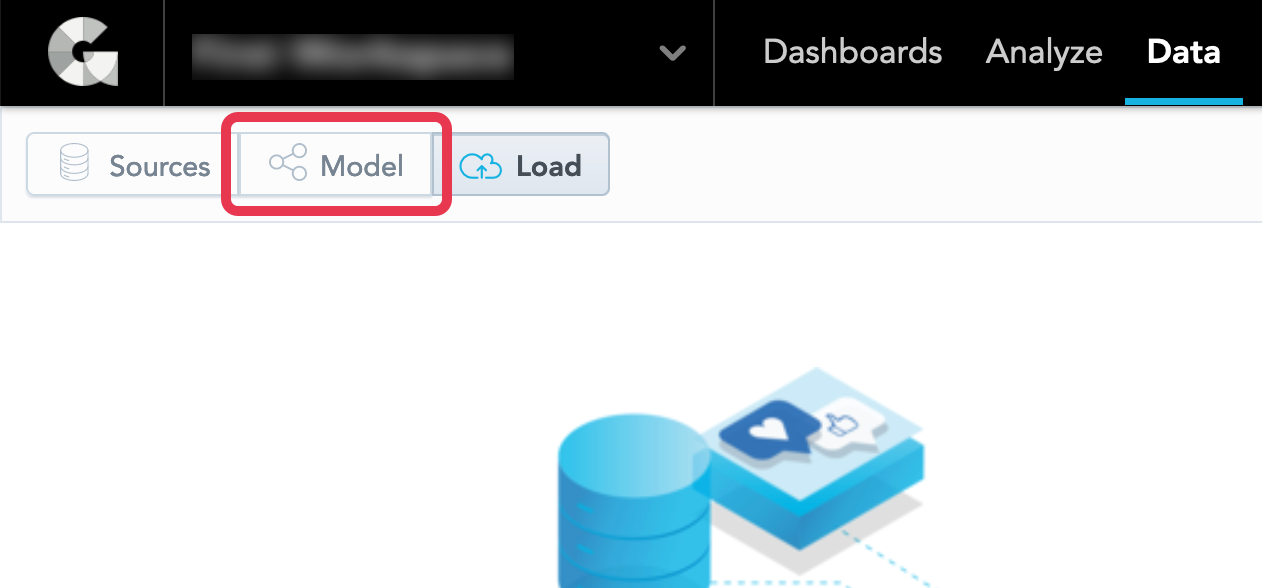
To return to the graph view of the LDM, click Model.


