Chapter 40. Notes in the Graphs
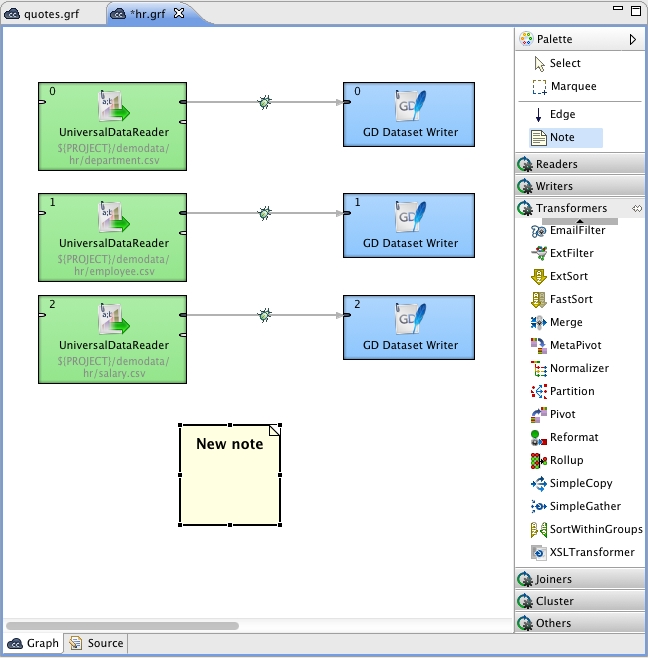
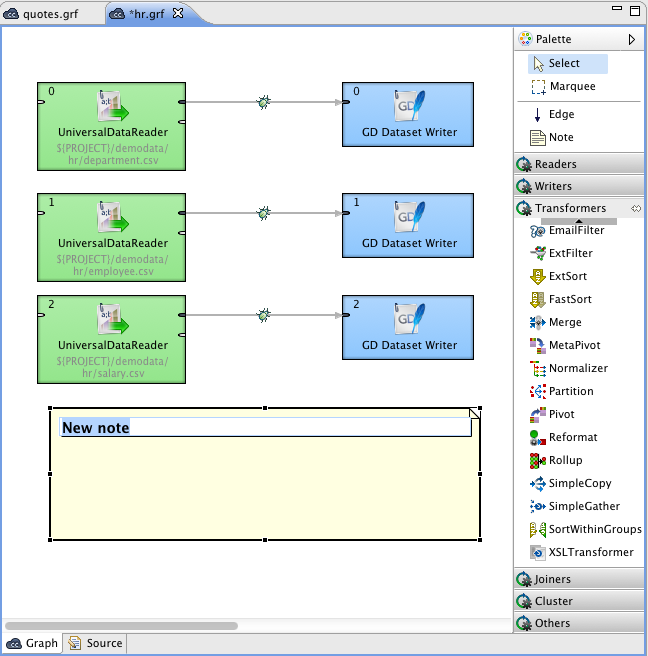
The mentioned Palette of Components contains also a icon. When you are creating any graph, you can paste one or more notes in the Graph Editor pane. To do that, click this icon in the Palette, move to the Graph Editor and click again. After that, a new Note will appear there. It bears a New note label on it.
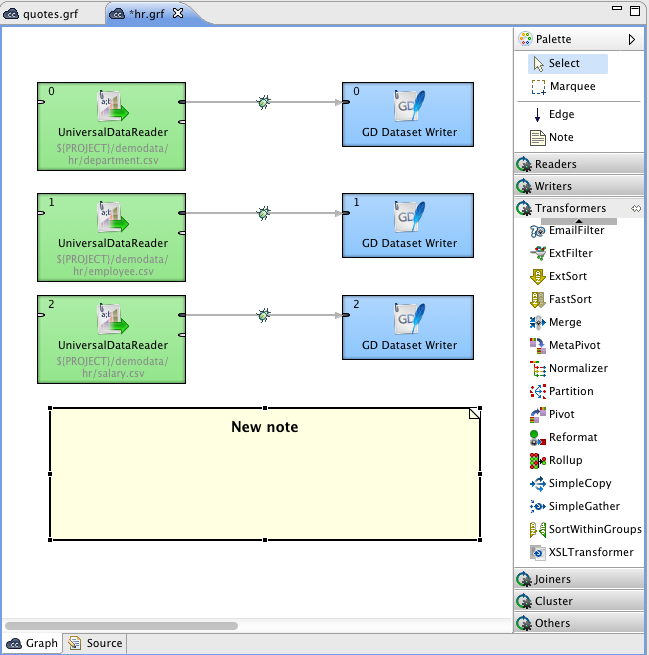
You can also enlarge the Note by clicking it and by dragging any of its margins that have been highlighted after this click.
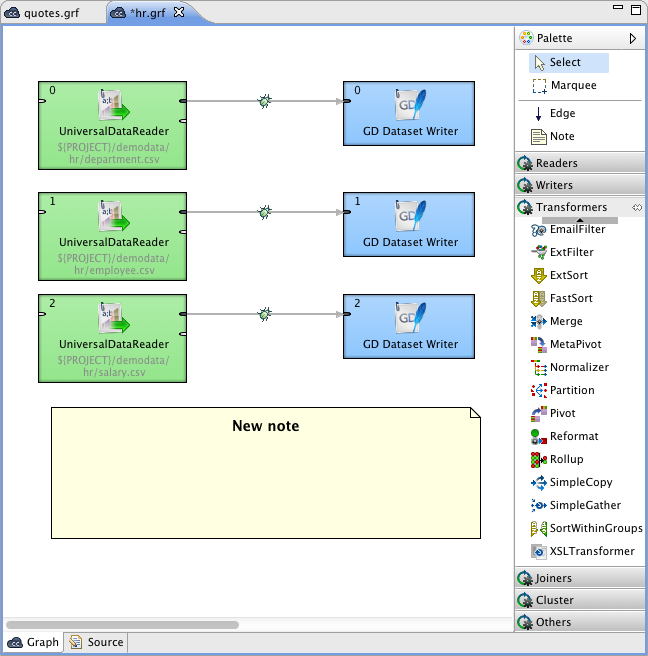
At the end, click anywhere outside the Note so that the highlighting disappears.
When you want to write some description in the Note of what the graph should do, click inside the Note two times. After the first click, the margins are highlighted, after the second one, a white rectangular space appears in the Note. If you make this click on the New note label, this label appears in the rectangle and you can change it.
If you make this click outside the New note label, a new rectangle space appears and you can write any description of the graph in it. You can also enlarge the space and write more of the text in it.
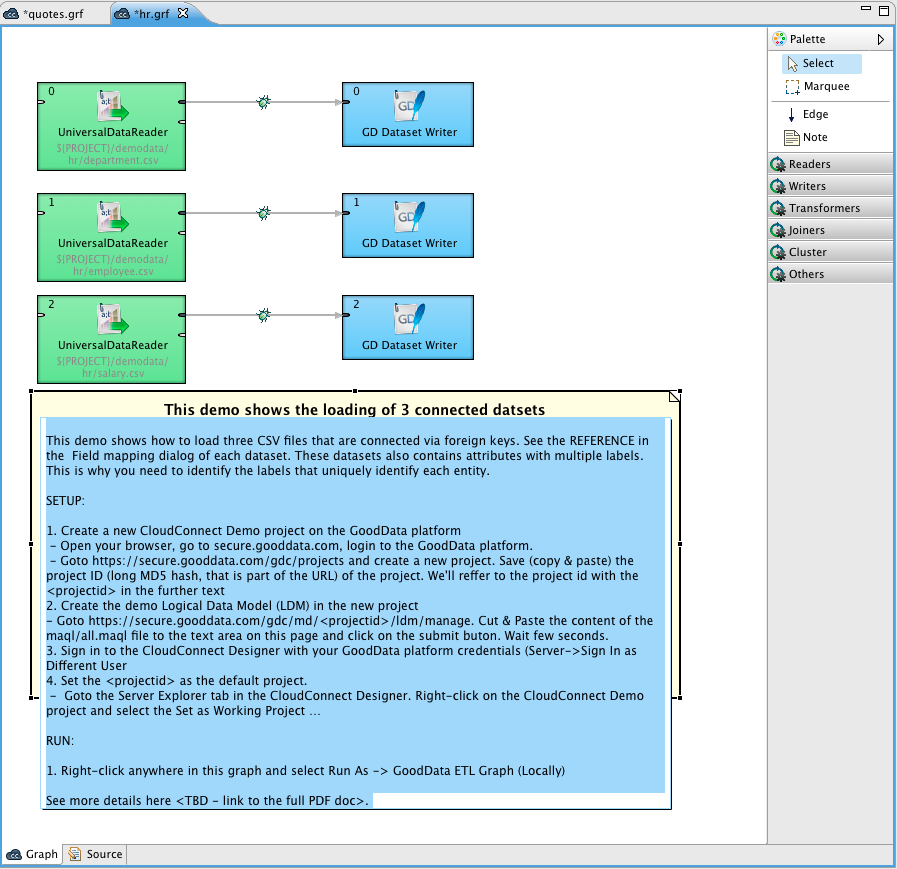
The resulting Note can be as follows:
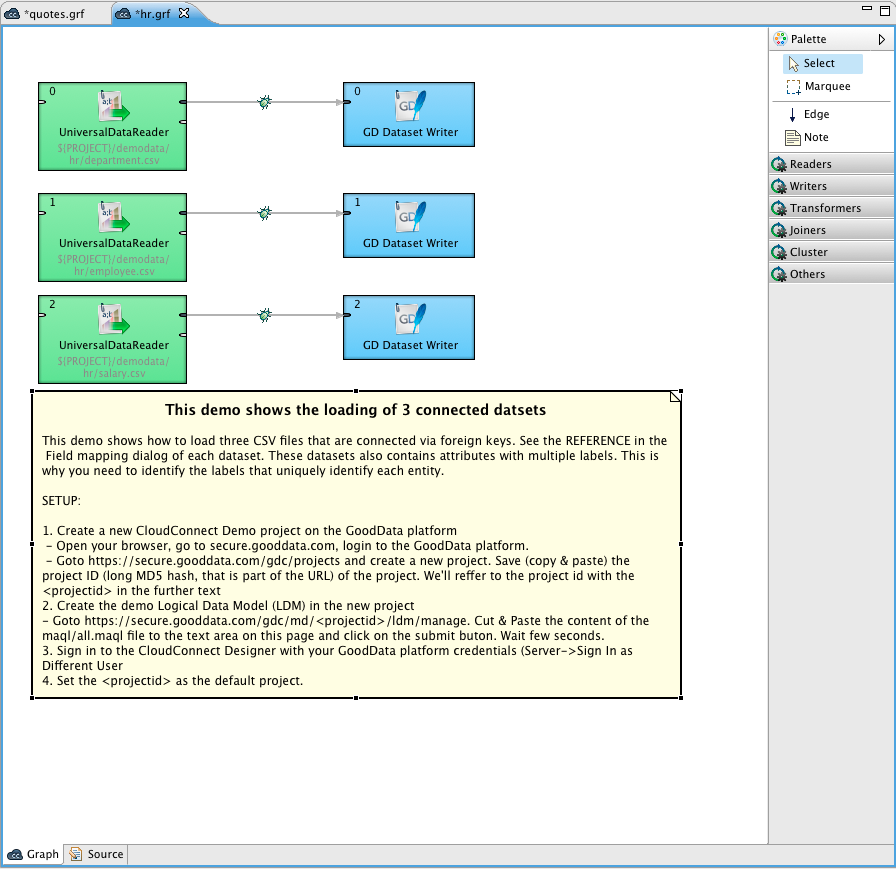
This way, you can paste more Notes in one graph.
Remember that if you type any parameter in a Note, not the parameter, but its value will be displayed!
Also must be mentioned that each component lying in a Note will be moved together with the Note if you move the Note.
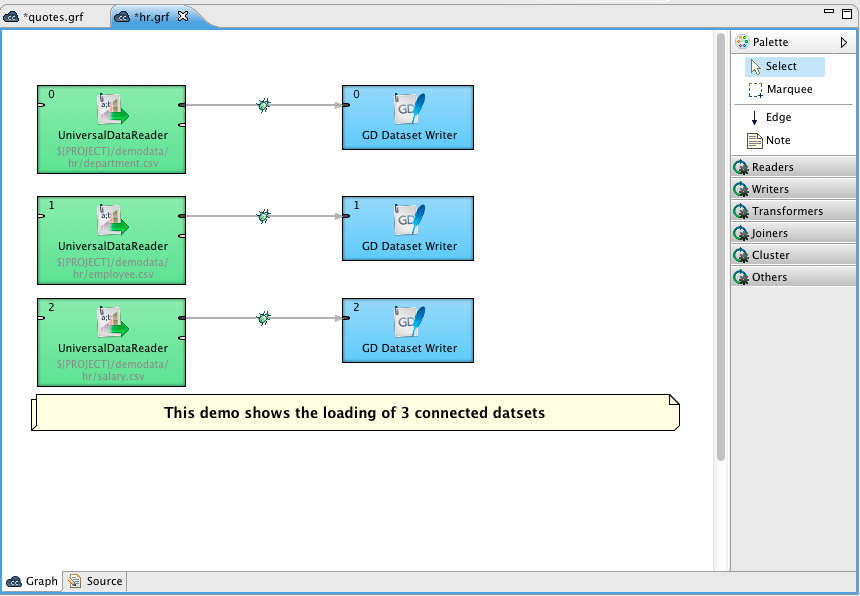
You can also fold any Note by selecting the item from the context menu. From the resulting Note only the label will be visible and it will look like this:
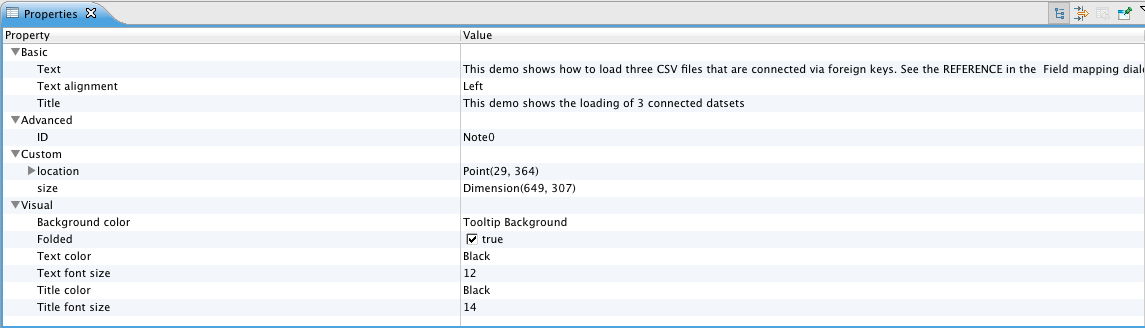
You can also set up many properties of any Note when you click the Note and switch to the Properties tab. You can see both Text and Title of the Note there. Each of them can be changed in this tab. You can also decide whether the Text should be aligned to the Left, Center or Right. Title is aligned to the center by default. Both Text and Title can have some specified colors, you can select one from the combo list. They both are black and the background has the color of tooltip background by default. Any of these properties can be set here. The default font sizes are also displayed in this tab and can be changed as well. If you want to fold the Note, set the Folded attribute to true. Each Note has an ID like any other graph component.