Internalizing External (Shared) Lookup Tables
Once you have created and linked external (shared) lookup table file, in case you want to put this lookup table into the graph, you need to convert it into internal lookup table. Thus, you could see its structure in the graph itself.
You can internalize any linked external (shared) lookup table file into internal lookup table by right-clicking such external (shared) lookup table items in the Outline pane and clicking Internalize connection from the context menu.
After doing that, the following wizard opens that allows you to decide whether you also want to internalize metadata assigned to the lookup table and/or its DB connection (in case of Database lookup table).
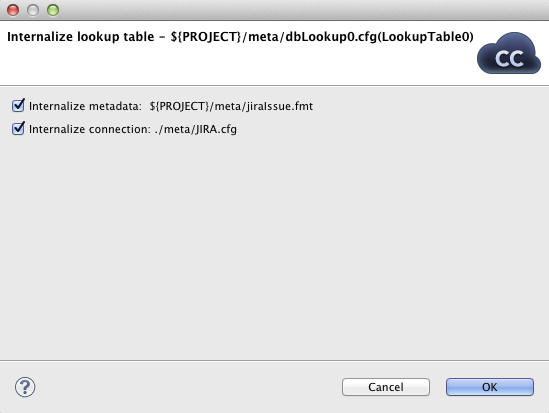
When you check the checkboxes or leave them unchecked, click .
After that, the selected linked external (shared) lookup table items disappear from the Outline pane Lookups group, but, at the same location, newly created internal lookup table items appear. If you have also decided to internalize the linked external (shared) metadata assigned to the lookup table, their item is converted to internal metadata item what can be seen in the Metadata group of the Outline pane.
However, the original external (shared) lookup table file
still remains to exist in the lookup subfolder.
You can see it in this folder in the Navigator
pane.
You can even internalize multiple linked external (shared) lookup table files at once. To do this, select the desired linked external (shared) lookup table items in the Outline pane. After that, you only need to repeat the process described above for each selected lookup table. You can select adjacent items when you press Shift and press the Down Cursor or the Up Cursor key. If you want to select non-adjacent items, use Ctrl+ at each of the desired items instead.