Configuring Windows Server with AD FS for GoodData SAML SSO
A variety of identity providers can be used with GoodData.
This article describes how to use Active Directory Federation Services (AD FS) for the security token service. For information on configuring the identity provider using SAML, see SAML SSO with GoodData.
The information in this article covers a SAML 2.0 SSO setup and is based on Microsoft Windows Server 2012 R2 Standard edition with AD FS 2.0 serving as an identity provider. The setup process may be applied to later versions of the Windows Server operating system. However, some details such as parameter names or option names may differ.
The steps described in this article include making changes in Active Directory Domain Services and must be performed by skilled personnel only.
Prerequisites
Before you start, make sure you have the following in place:
Windows Server
Active Directory Domain Services
AD FS 2.0 or higher
DNS
TLS certificate (if you do not have a certificate, you can generate a self-signed certificate using IIS; you can use a self-signed certificate for testing).
AD FS may auto-renew certificates from time to time using the AutoCertificateRollover property.
If the certificate expires or gets renewed, deliver the new certificate or metadata to GoodData.
Process
- Run the AD FS configuration.
- Add a relying party trust to the AD FS configuration database.
- Add transform claim rules to the relying party trust.
- Specify the response signature.
- Download federation metadata.
- Finalize the configuration.
Run the AD FS configuration
Steps:
Open Server Manager, and click AD FS.
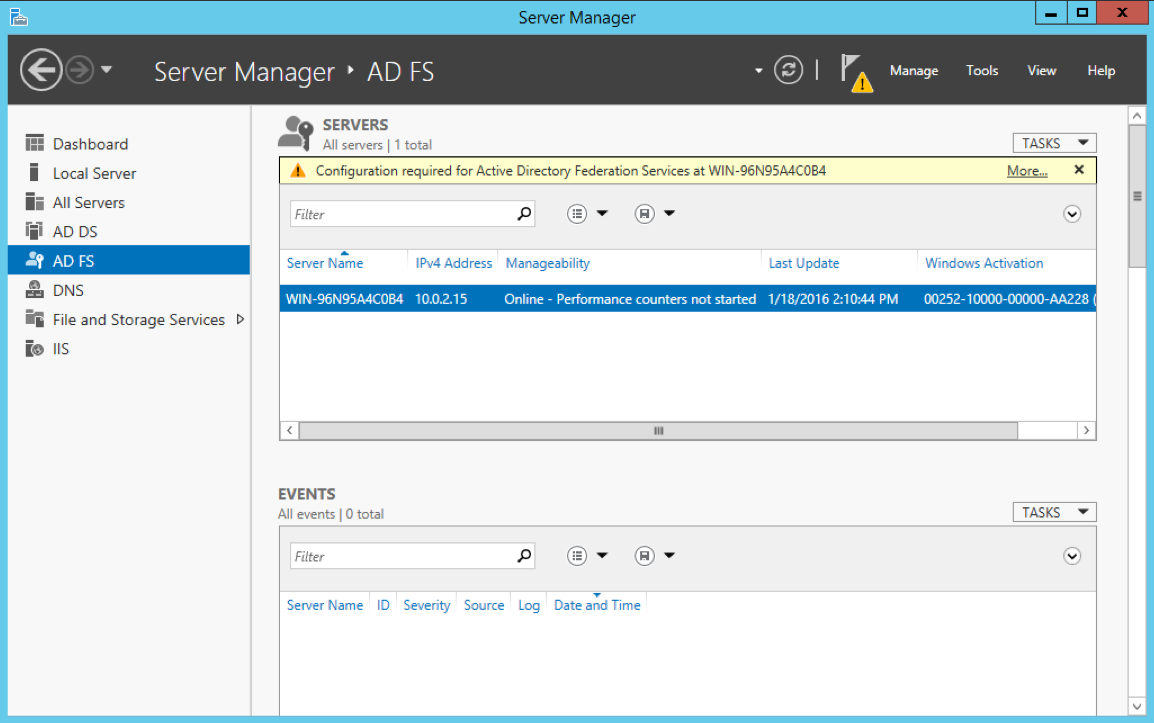
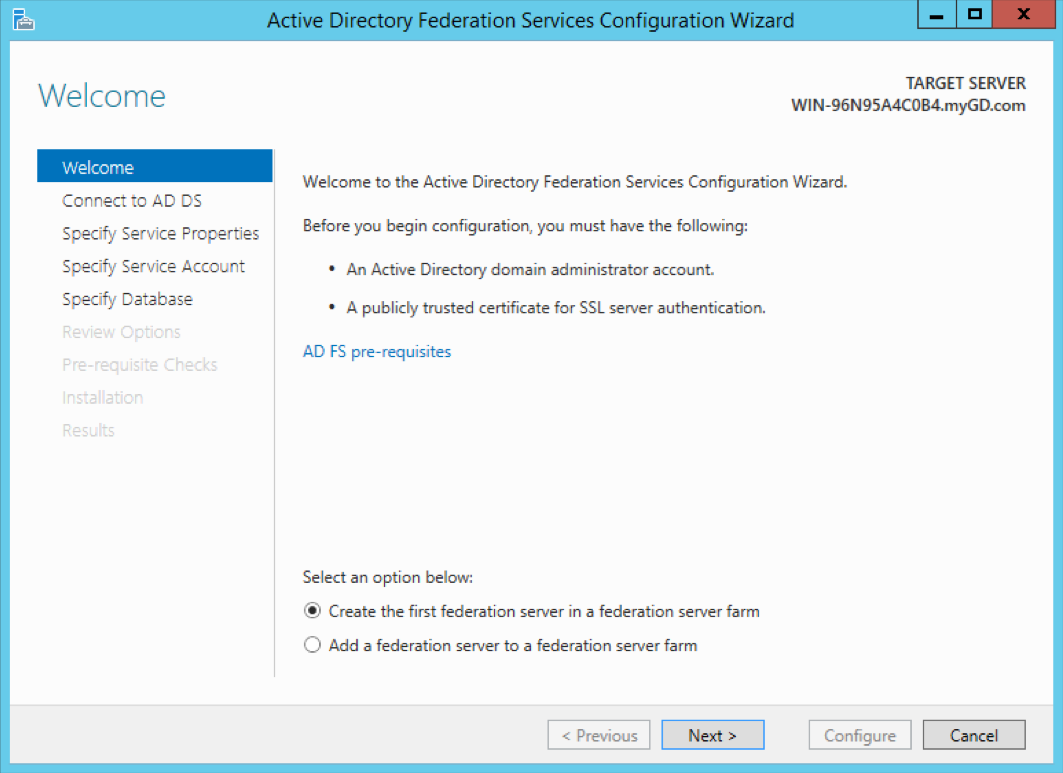
On the notification bar, click More… . The AD FS configuration wizard opens the Welcome page.
Select Create the first federation server in a federation server farm, and click Next.
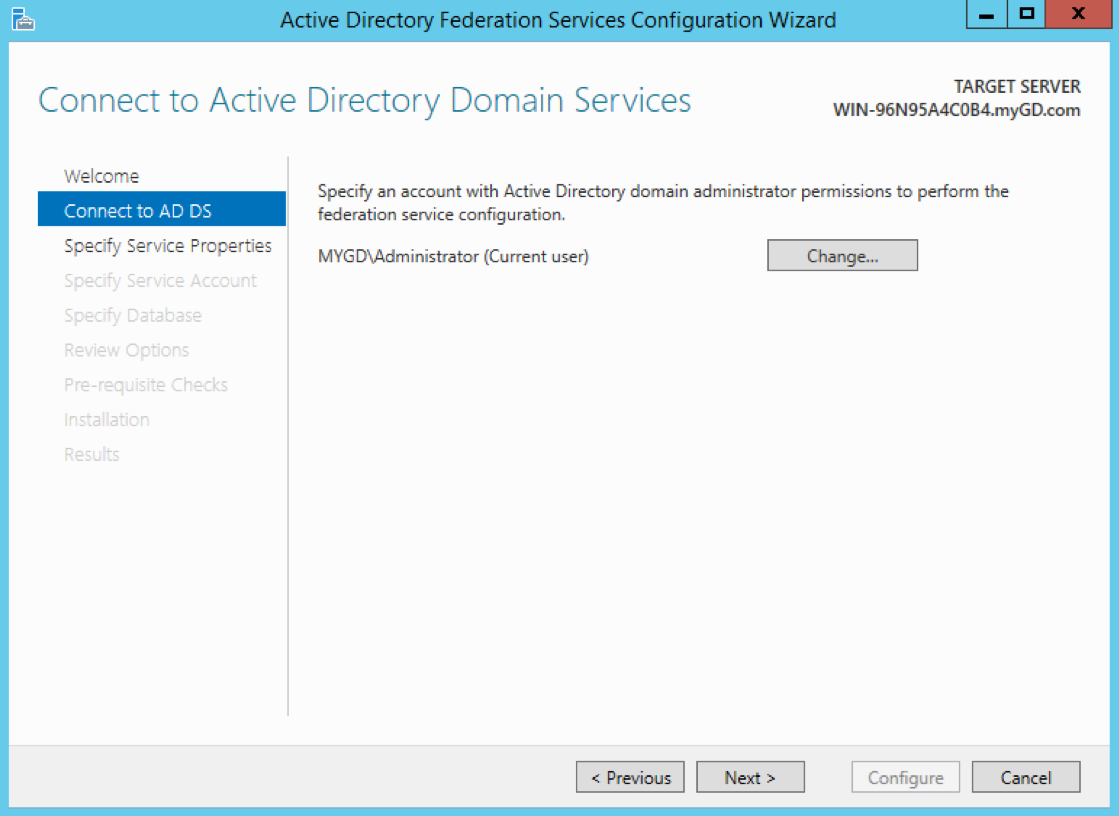
Select the user, and click Next. The user must have privileges to configure AD FS.
Select the TLS certificate and the federation service, type the preferred display name of the federation service, and click Next.
AD FS may auto-renew certificates from time to time using the AutoCertificateRollover property.
If the certificate expires or gets renewed, deliver the new certificate or metadata to GoodData.

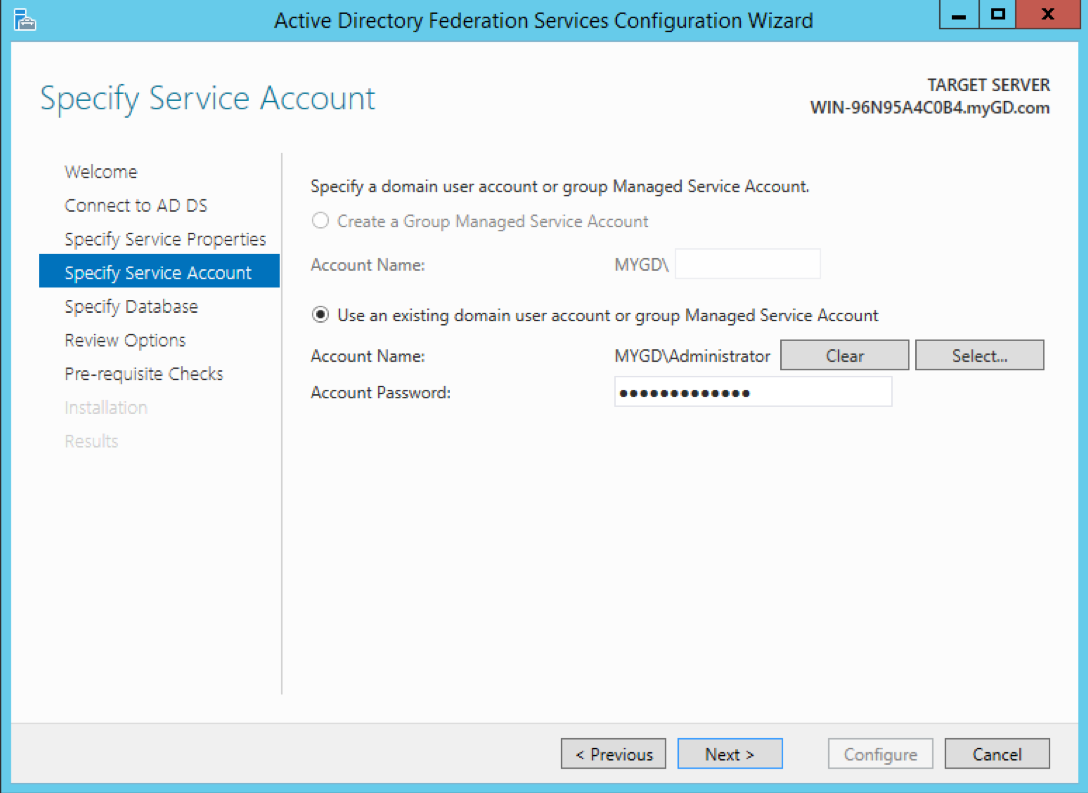
Select Use an existing domain user account… , and enter the service account details. Click Next.
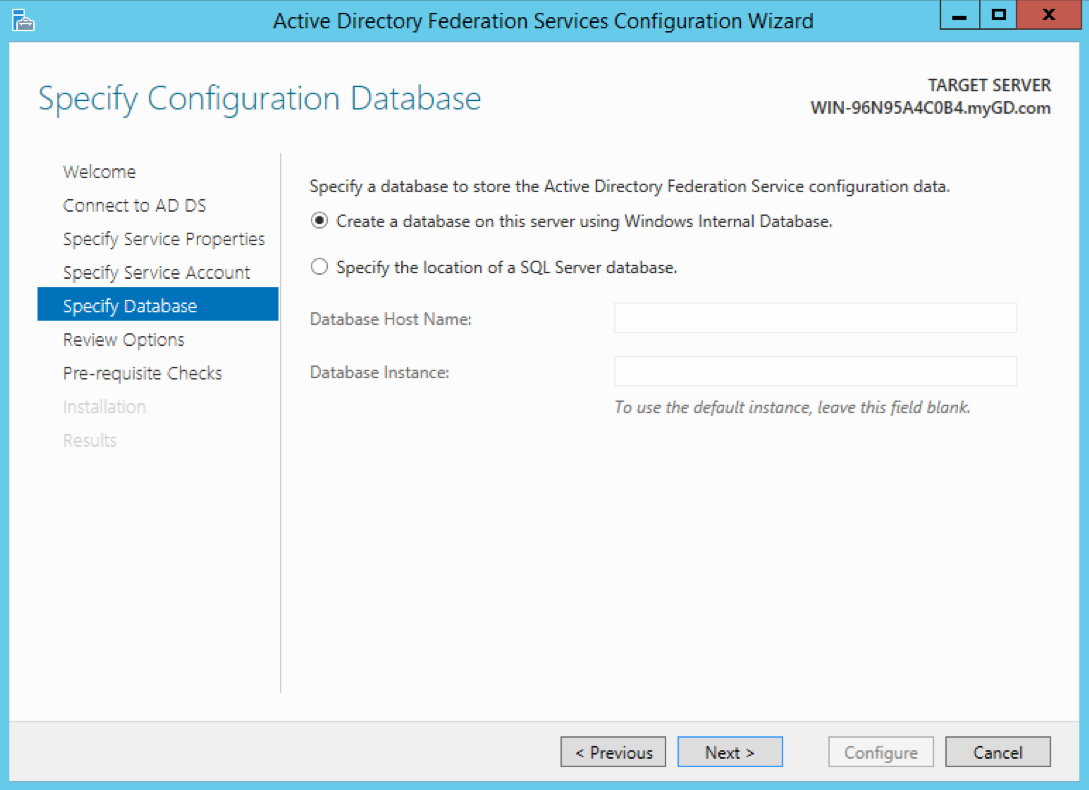
Select Create a database on this server using Windows Internal Database. Click Next.
Review the options, and click Next.
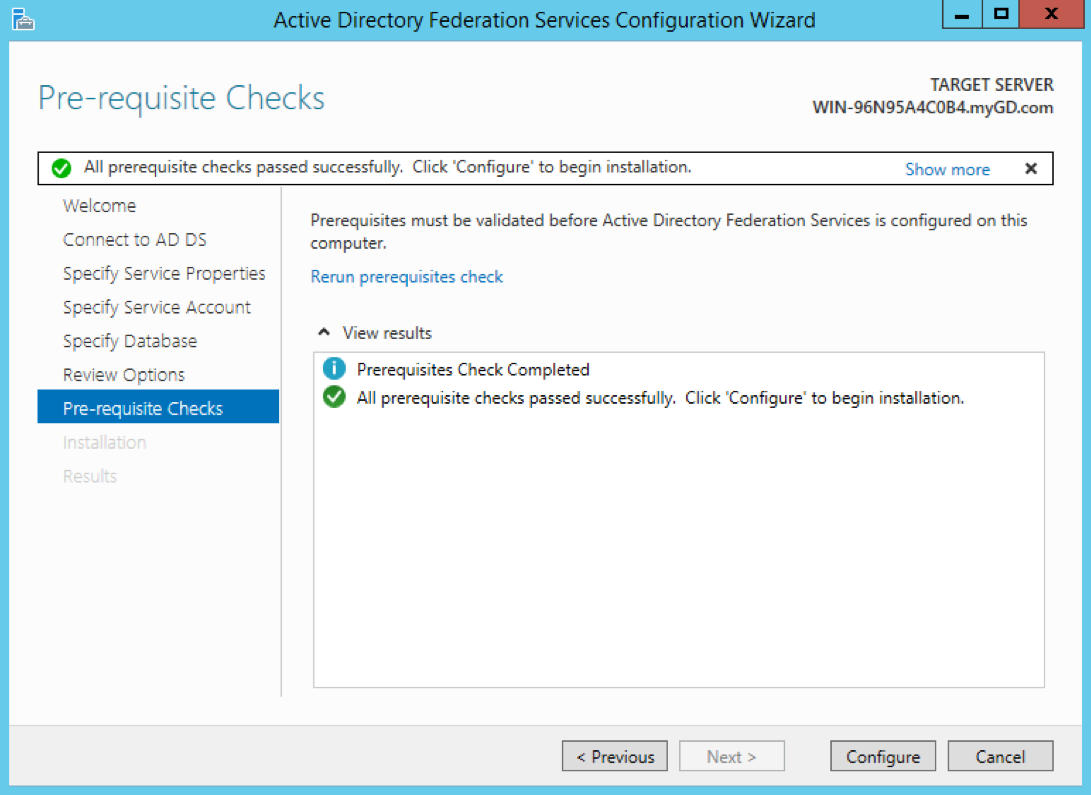
The prerequisite check runs. A success message appears.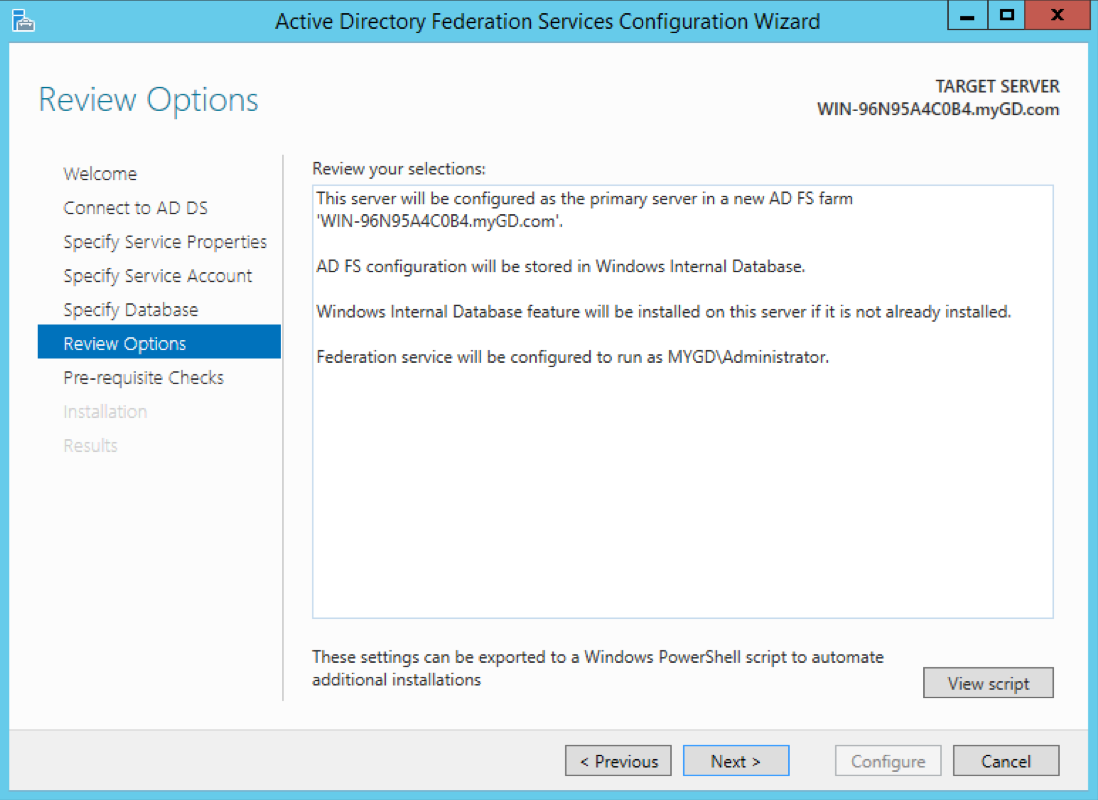
Click Configure to finish.
Add a relying party trust to the AD FS configuration database
Before you start, download the XML configuration file from here.
This file contains configuration parameters for setting up a relying party trust on your side.
If you site is white-labeled, replace all instances of https://{your-subdomain-name}.gooddata.comwith your white label URL in the XML configuration file.
Steps:
- Run the AD FS management application.
- Click Action -> Add Relying Party Trust. The relying party trust wizard opens the Welcome page.
- Click Start.
- Select Import data about the relying party from a file, and specify the path to the downloaded XML file.
- Click Next.
- Type a display name (for example, ‘gooddata.com’), and click Next.
- Select I do not want to configure multi-factor authentication settings… , and click Next.
- Select Permit all users to access this relying party, and click Next.
- Review the options you have specified, and click Next. The relying party trust is added to the AD FS configuration database.
- Select Open the Edit Claim Rules dialog for this relying party trust when the wizard closes, and click Close. The wizard closes. The dialog for editing claim rules opens.
Add transform claim rules to the relying party trust
Now, you must add two transform rules.
Ensure you add the rules in the order that is described in this step. The rules are executed in this order. Changing the order results in different mapping output.
Steps:
- In the dialog for editing claim rules, click Add Rule… . The wizard for adding rules opens.
- Select Send LDAP Attributes as Claims for the rule template and click Next.
- Configure the rule:
- Type a name for the rule (for example, ‘email to email’).
- For the attribute store, select Active Directory.
- Map LDAP attributes to outgoing claim types like the following: E-Mail-Addresses < > Email Address
- Click Finish.
- Click Add Rule… again.
- Select Transform an incoming claim for the rule template, and click Next.
- Configure the rule:
- Type a name for the rule (for example, ‘email to nameid’).
- For the incoming claim type, select Email address.
- For the outgoing claim type, select Name ID.
- For the outgoing name ID format, select Email.
- From the option buttons, select Pass through all claim rules.
- Click Finish.
- In the dialog for editing claim rules, click OK to save and apply your changes.
Specify the response signature
Specifies the response signatures that the relying party expects.
Open the PowerShell console, and run the following command:
Set-ADFSRelyingPartyTrust -TargetIdentifier "https://{your-subdomain-name}.gooddata.com" -Identifier "https://{your-subdomain-name}.gooddata.com" -SamlResponseSignature 'MessageAndAssertion'
Configure the SSO
Steps:
- Open a browser, and go to https://localhost/FederationMetadata/2007-06/FederationMetadata.xml.
- Determine which SSO scenario you are configuring and follow the relevant instructions:
- If configuring for a Service Provider-initiated scenario, see SAML SSO with GoodData - Service Provider-initiated Scenario.
- If configuring for an Identity Provider-initiated scenario, see SAML SSO with GoodData - Identity Provider-initiated Scenario.
Finalize the configuration
Perform these steps only after you have created a value for the ssoProvider.
Steps:
Using the user provisioning API, set the ssoProvider parameter for the GoodData user to the value that you created.
Open a browser, and go to https://localhost/adfs/ls/idpinitiatedsignon.aspx.
Click Sign in to one of the following sites, and select the relying party trust that you configured in Step 2 (in our example, it’s ‘gooddata.com’).
Click Sign in.
If prompted, use your AD user account to log in to GoodData.
Your GoodData login email and the email set for your user in AD must match.
You now have an AD FS SSO implementation for GoodData.