Creating a Connection between CloudConnect and Data Warehouse
CloudConnect is a legacy tool and will be discontinued. We recommend that to prepare your data you use the GoodData data pipeline as described in Data Preparation and Distribution. For data modeling, see Data Modeling in GoodData to learn how to work with Logical Data Modeler.
To create a connection between CloudConnect and Data Warehouse, follow these steps:
Open your project’s ETL graph, or create a new one.
Secondary-click Connections in the Project Outline, and select Connections > Create DB Connection….
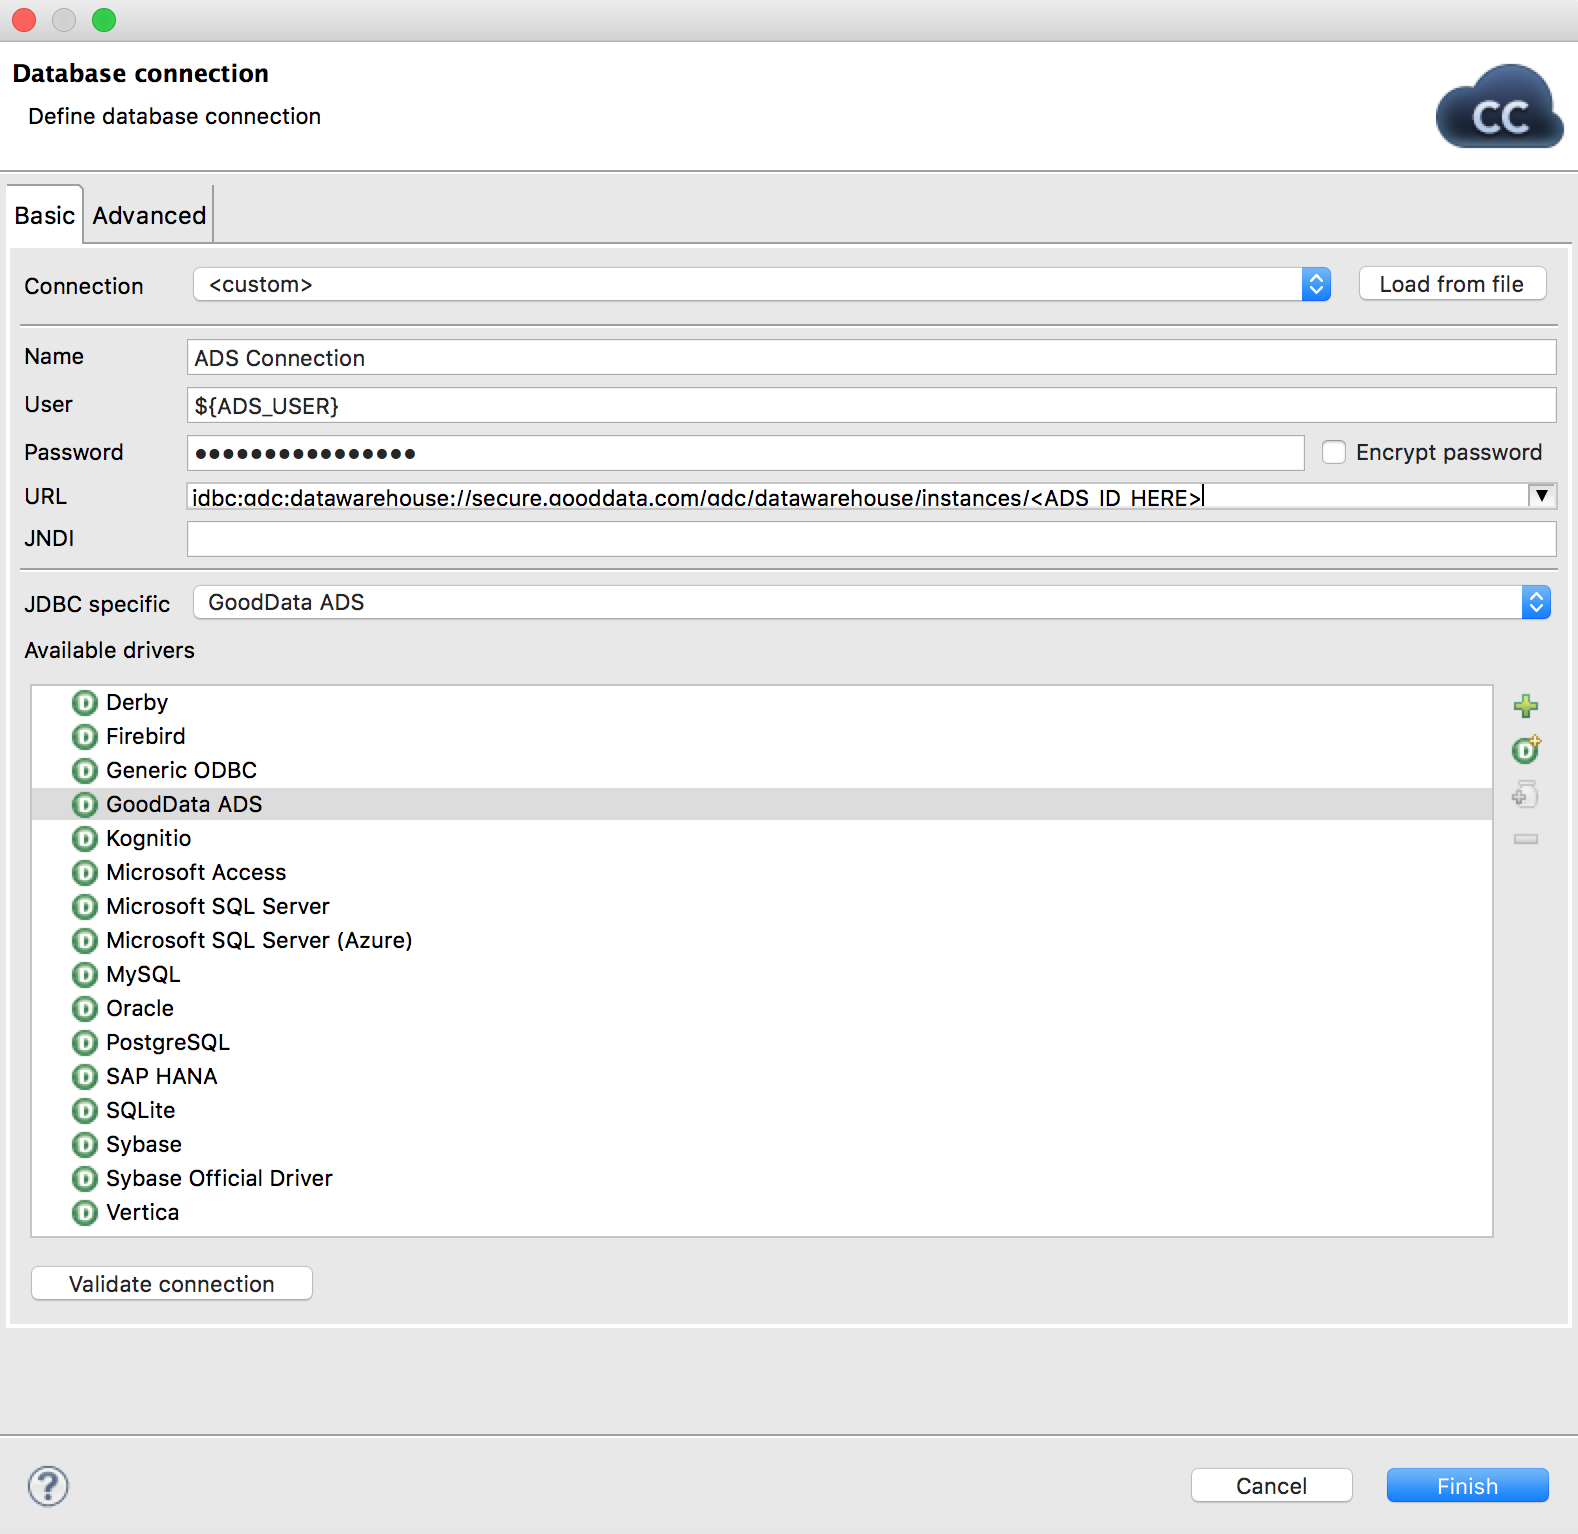
Do not create your connection from the File menu.Select a <custom> database connection.
(Optional) Use project parameters for the username and password and to pass them into the connection at runtime. See Loading Data through CloudConnect to Data Warehouse.
Insert the identifier for the Data Warehouse instance (ADS_ID) as part of the connection string. See Prepare the JDBC Connection String. Your CloudConnect connection should look similar to the following:
Click Validate connection to test it.
Save the connection.
You have configured your graph in CloudConnect to connect to the specified Data Warehouse instance. This connection must be referenced in each component instance that interacts with Data Warehouse.
Reusing the Connection
The connection to Data Warehouse is local to the graph in which you created it. Copy it into other graphs to be used in other projects, if project parameters have been created for it.
By default, each database component instance creates a new connection.
To avoid repeating yourself, the connection settings should reference CloudConnect variables rather than using hard-coded constants. See Project Parameters for Data Warehouse.
To create a connection that can be reused by multiple connections, deselect the Thread-safe button in the Advanced tab of the Connection Settings dialog. However, avoid this configuration unless truly necessary for operations such as retrieving an auto-incremented key.
Do not turn off the thread safety for connections used by components expected to issue long-running queries.
A JDBC connection remains open for two hours at most. After two hours, the connection is terminated.