Setup
This topic is part of the tutorial that is intended for developers who plan to work on data models and ETL using CloudConnect.
If you are interested in creating reports, dashboards, or metrics, start with Reporting and Dashboards.
CloudConnect is a legacy tool and will be discontinued. We recommend that to prepare your data you use the GoodData data pipeline as described in Data Preparation and Distribution. For data modeling, see Data Modeling in GoodData to learn how to work with Logical Data Modeler.
To set up your tutorial project in CloudConnect Designer, complete the following steps.
1. Obtain the authorization token.
To be able to create a project in CloudConnect, you need an authorization token.
- If you are an existing customer, see Find the Workspace Authorization Token.
- If you are a new customer, see Try GoodData for Free.
2. Download and install CloudConnect.
Download CloudConnect from the Downloads page at https://secure.gooddata.com/downloads.html.
If you are a white-labeled customer, log in to the Downloads page from your white-labeled domain:https://my.domain.com/downloads.html.Install CloudConnect on your machine.
3. Start CloudConnect.
After you have installed CloudConnect, start the application.
On initial start, you have to specify a workspace. In CloudConnect, a workspace is the location where you store your projects. You can have multiple workspaces. For now, feel free to accept the default location.
On initial startup, sign in with your GoodData credentials. If you do not have a GoodData account, click Create New Account to register.
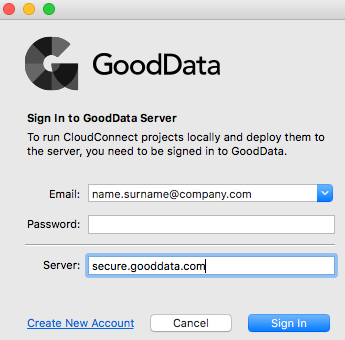
After creating a new account or logging in to GoodData, you are prompted to create a new GoodData project. Click Cancel.
Do not create a new project at this time. When you import the example project, a new CloudConnect project is automatically created for you.
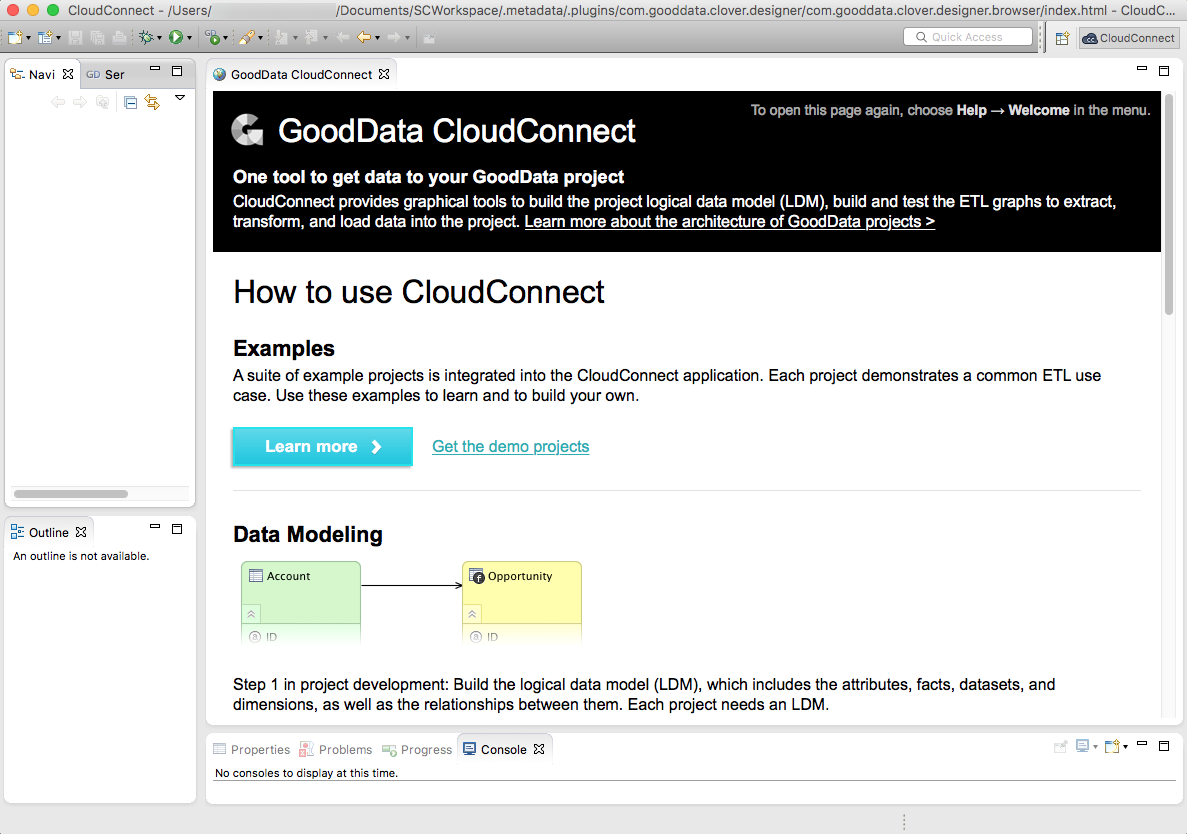
You should now see a screen similar to the following in CloudConnect:
4. Download the demo project.
Download the demo project: twitter-demo.zip
This project includes a pre-built data model and ETL graph.
5. Import the demo project into CloudConnect.
- In the CloudConnect menu, select File > Import….
- In the Select window, open the CloudConnect category, and click Import external CloudConnect projects.
- Click Next.
- In the Import Projects window, click the Select archive file option button, and click Browse….
- Navigate your local directories to select the ZIP file you downloaded. Click Open.
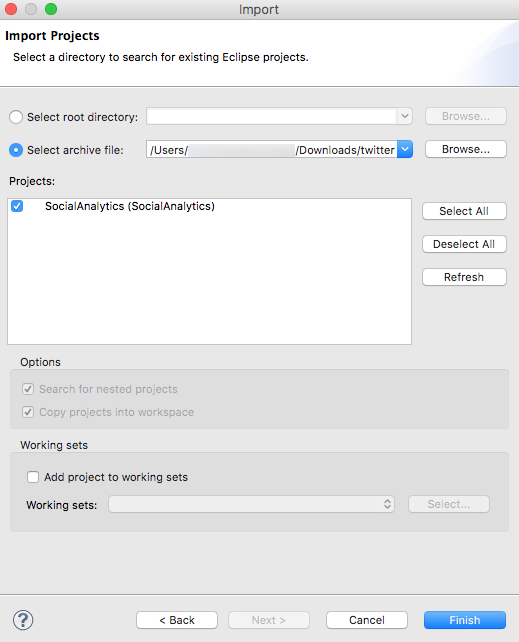
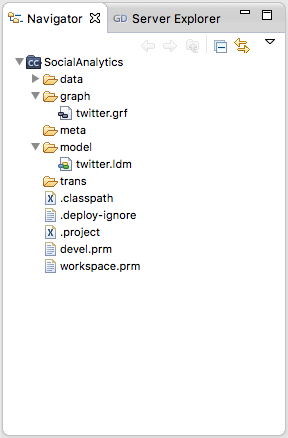
- Click Finish. The imported files appear in the project.
- In the Navigation section, click the arrows next to the ‘graph’ and ‘model’ folders to open the current ETL graph and logical data model files.