You are viewing our older product's guide. Click here for the documentation of GoodData Cloud, our latest and most advanced product.
Creating a Dataset in CloudConnect Modeler
CloudConnect is a legacy tool and will be discontinued. We recommend that to prepare your data you use the GoodData data pipeline as described in Data Preparation and Distribution. For data modeling, see Data Modeling in GoodData to learn how to work with Logical Data Modeler.
Create the logical objects to store Employee ID and Name separately.
Steps:
- In the Model Editor pane, deselect any selected objects.
- In the Details sidebar, click Add Dataset.
- For the title of the dataset, enter Employees.
- Click the down arrows in the Employees dataset.
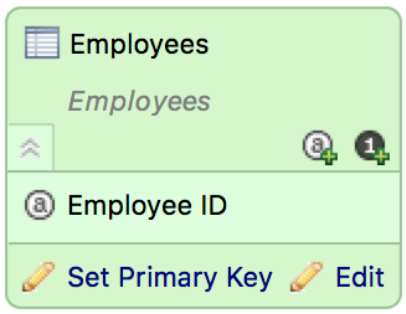
- From the Payments dataset, click and drag the Employee ID attribute to a location between the two horizontal bars in the Employees dataset. The Employee ID attribute is moved. The Employees dataset should look like the following:

- Click Edit. In the Attributes and Facts window, notice that the Name label has been moved with the Employee ID attribute.
- Click Cancel.
- Select File > Save. The Publish Model to Server dialog appears.
- Click Do not publish for now as you don’t want to publish the model to the server at this moment. The project is saved.