Adding Your First Dataset in CloudConnect Modeler
CloudConnect is a legacy tool and will be discontinued. We recommend that to prepare your data you use the GoodData data pipeline as described in Data Preparation and Distribution. For data modeling, see Data Modeling in GoodData to learn how to work with Logical Data Modeler.
The blank canvas area, called the Model Editor, is your primary editing space for building your data models. To the right of the canvas is the Details sidebar, which is used to add data objects and to configure some of their properties. For more information, see CloudConnect Modeler Editor Pane.
Steps:
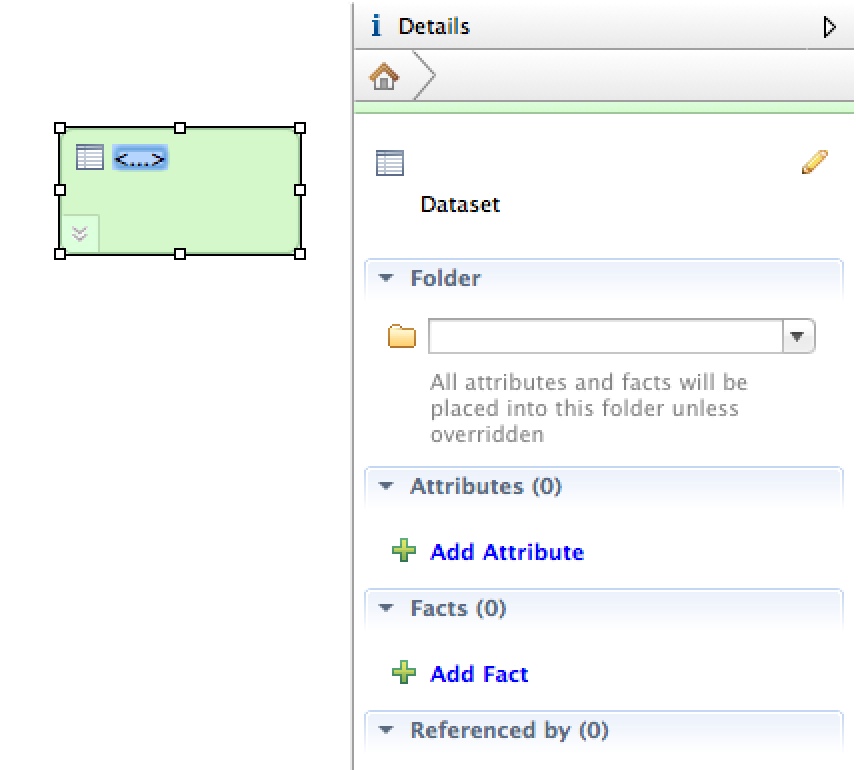
In the Details sidebar, click Add Dataset. An unnamed dataset object is added to the Model Editor pane, and the Details sidebar now contains a set of properties pertaining to the dataset, which is now selected.
Click the blue box inside the dataset object. This blue box represents the name of the dataset that has not been yet specified. An editing textbox appears.
You can also use the controls in the Details sidebar to edit the dataset.Enter Payments for the name of the dataset. Another reference to Payments is added below the dataset name. The value in italics is the name of the folder into which the dataset objects are stored in any project to which you publish this model. You can modify the folder name in the Details sidebar. See Dataset Folder Names in CloudConnect. The dataset object should look like the following:

When laying out your data model, you may find it useful for reading purposes to arrange the attribute datasets on the left side and the fact datasets on the right side. To assist in organizing your layout, use the Arrange All tool in the toolbar.
